

The Best Practice: React Hook Form + Yup
If you’ve worked with forms before, you know that performance and readability matter. That’s exactly why React Hook Form + Yup has become the community’s go-to combo for form validation.
This combination gives you both performance and clarity — the hallmarks of production-ready React Native apps.
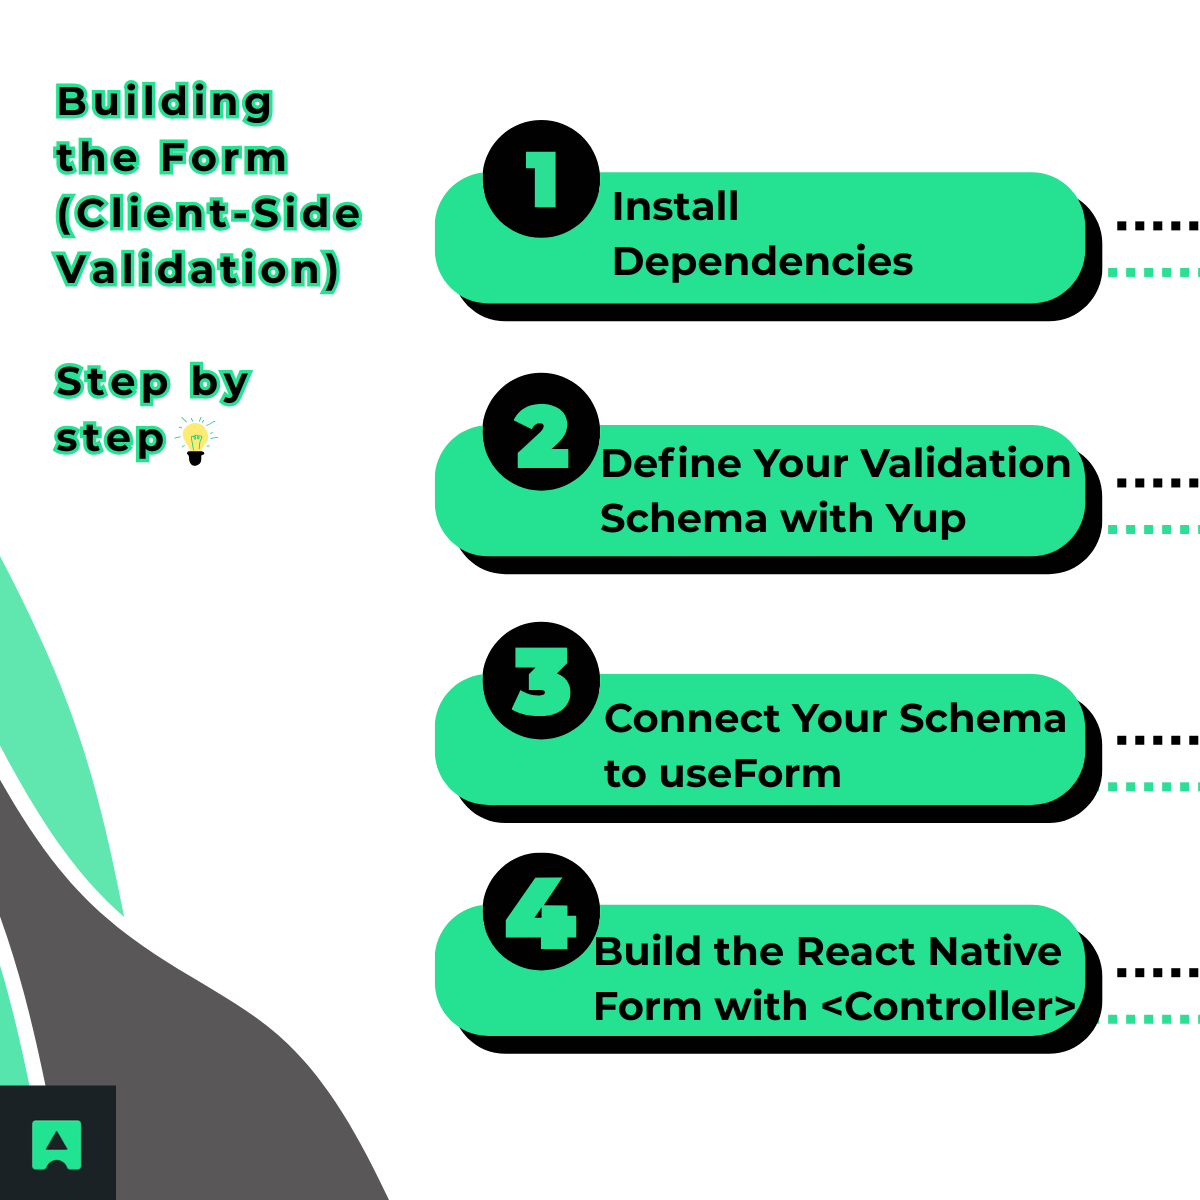
🛠️ Part 1: Building the Form (Client-Side Validation)
Let’s dive into the code and build a fully functional sign-up form that validates user input in real-time.
🧱 Step 1: Install Dependencies
Run this command in your React Native project:
npm install react-hook-form yup @hookform/resolvers
- react-hook-form → Manages form state and validation lifecycle
- yup → Defines your validation schema
- @hookform/resolvers → Connects Yup with React Hook Form
📜 Step 2: Define Your Validation Schema with Yup
Create a file named signUpSchema.js and define your rules:
import * as yup from 'yup';
export const signUpSchema = yup.object().shape({
name: yup.string().required('Name is required'),
email: yup
.string()
.email('Invalid email format')
.required('Email is required'),
password: yup
.string()
.min(8, 'Password must be at least 8 characters')
.required('Password is required'),
});
This schema enforces consistent validation rules — and it keeps them separate from your component logic for cleaner code.
🪄 Step 3: Connect Your Schema to useForm
Now import and connect the schema in your form component.
import { useForm, Controller } from 'react-hook-form';
import { yupResolver } from '@hookform/resolvers/yup';
import { signUpSchema } from './signUpSchema';
const SignUpForm = () => {
const { control, handleSubmit, formState: { errors } } = useForm({
resolver: yupResolver(signUpSchema),
defaultValues: {
name: '',
email: '',
password: '',
},
});
const onSubmit = (data) => {
console.log('Form data is valid!', data);
// We'll enhance this later with server validation
};
};
Here’s what’s happening:
- control — connects your form inputs
- handleSubmit — wraps the form submission logic
- errors — contains all validation messages generated by Yup
🎨 Step 4: Build the React Native Form with <Controller>
Let’s put it all together inside the JSX. Using <Controller> ensures your inputs work seamlessly with React Hook Form.
import { View, Text, TextInput, Button, StyleSheet } from 'react-native';
// Inside the SignUpForm component
return (
<View style={styles.container}>
{/* Name Field */}
<Controller
control={control}
name="name"
render={({ field: { onChange, onBlur, value } }) => (
<TextInput
style={styles.input}
placeholder="Full Name"
onBlur={onBlur}
onChangeText={onChange}
value={value}
/>
)}
/>
{errors.name && <Text style={styles.errorText}>{errors.name.message}</Text>}
{/* Email Field */}
<Controller
control={control}
name="email"
render={({ field: { onChange, onBlur, value } }) => (
<TextInput
style={styles.input}
placeholder="Email Address"
onBlur={onBlur}
onChangeText={onChange}
value={value}
keyboardType="email-address"
autoCapitalize="none"
/>
)}
/>
{errors.email && <Text style={styles.errorText}>{errors.email.message}</Text>}
{/* Password Field */}
<Controller
control={control}
name="password"
render={({ field: { onChange, onBlur, value } }) => (
<TextInput
style={styles.input}
placeholder="Password"
onBlur={onBlur}
onChangeText={onChange}
value={value}
secureTextEntry
/>
)}
/>
{errors.password && <Text style={styles.errorText}>{errors.password.message}</Text>}
<Button title="Sign Up" onPress={handleSubmit(onSubmit)} />
</View>
);
👉 Notice how {errors.name && <Text>{errors.name.message}</Text>} conditionally renders the error message right under each input. These messages come directly from your Yup schema — no extra logic needed.
🔒 Part 2: Adding Server-Side Validation (Stop Fake Emails)
At this point, your form looks great and behaves well. But here’s the catch: it’ll still accept fake@gmil.com or temporary inboxes like test@mailinator.com. 🕳️
Bad data like this can pollute your user base, increase bounce rates, and damage your sender reputation.
To fix this, let’s integrate the AbstractAPI Email Validation API — a quick server-side check that confirms each email address actually exists before it’s stored.
⚙️ How to Validate Emails in onSubmit
We’ll modify our onSubmit function to make a real-time API request and handle errors from the server
using React Hook Form’s setError.
import { useState } from 'react';
// ... other imports
const { control, handleSubmit, setError, formState: { errors } } = useForm({
resolver: yupResolver(signUpSchema),
});
const [isLoading, setIsLoading] = useState(false);
const onSubmit = async (data) => {
if (isLoading) return;
setIsLoading(true);
const API_KEY = 'YOUR_ABSTRACTAPI_KEY_HERE';
const email = data.email;
try {
const response = await fetch(
`https://emailvalidation.abstractapi.com/v1/?api_key=${API_KEY}&email=${email}`
);
const apiData = await response.json();
if (apiData.is_smtp_valid.value === false) {
setError('email', {
type: 'server',
message: 'This email address does not exist or cannot be reached.',
});
} else {
console.log('✅ Valid email:', data);
// Proceed with your sign-up logic (e.g., send to backend)
}
} catch (error) {
console.error('Validation API Error:', error);
setError('email', {
type: 'server',
message: 'Could not validate email. Please try again.',
});
} finally {
setIsLoading(false);
}
};
💡 The setError method allows you to surface server-side errors in the same way as client-side ones — providing a unified and consistent user experience.
🎯 From “Working” to “Production-Ready”
You’ve now built something much more than a tutorial form:
✅ React Hook Form + Yup for client-side validation
✅ AbstractAPI Email Validation API for real-time deliverability checks
Together, they make your form clean, performant, and reliable — ready for any production app. 💪
Protect your application from fake signups and ensure your email database stays healthy.
👉 Get your free AbstractAPI Email Validation key and add this essential layer of trust to your next React Native project.
