How to Get Started Sending Emails in Django
This tutorial will assume at least some familiarity with Python and Django. We'll run the Django project inside a Python virtual environment. If you are not sure how to get started with Python or virtual environments, check out this tutorial.
Create a New Django Project Directory
The easiest way to keep track of your Python virtual environments is to create each environment at the root directory of whatever project it is for. Some people like to keep all their virtual environments in a single folder, but this can make it hard to keep track of which environment is for which project.
Create a new folder for your Django project using the following command.
Create a New Virtual Environment
The first thing we'll need to do is spin up our virtual environment so that we can install Django and our other dependencies in it.
What Is a Python Virtual Environment?
A virtual environment is like a container that keeps all your Python code and dependencies for a particular project separate from the rest of the Python versions and packages on your computer.
A virtual environment allows you to run different versions of Python for different projects without causing problems for yourself. For example, you might use Python3 for one project and Python for another project. Running these projects in separate virtual environments keeps the versions and all the packages separate.
In the terminal, navigate to your new directory and spin up a new virtual environment.
Let's take a quick look at what this command does:
This is our Python installation. Here, we're using Python 3 as our default Python installation. You can also spin up a virtual environment using python instead of python3, if that's what you have installed on your computer.
This tells Python to run the venv module. The -m argument means module.
This will be the name of our virtual environment directory. You can call it whatever you want. Most people go with venv because when they open the Django project later, they can easily remember what this folder is.
Activate the new environment using the following command
This tells the project to use the Python version and Pip that are installed inside the virtual environment. You should see the following indicator appear in your terminal, which tells you that you are using the virtual environment:
You are now ready to install Django and start building your email server.
Install Django
Now that we're running our virtual environment, we can start installing things. Install the latest version of Django using Pip (the Python package manager.)
You can check the version using Pip list, and lock the version of the package using Pip freeze.
Create a New Django App
Use the django-admin command line utility to create a new Django application.
This will create a new folder called DjangoEmailServer inside your top-level django-email-server project folder. Django requires that project names be camel case, not kebab or snake case. We've given the project the same name to keep things simple. This folder is where you'll write the email server code and install any other needed dependencies.
Navigate into the project directory and start the server using Python manage.
Navigate to localhost:8000 in your browser and you should see the Django boilerplate start-up page.
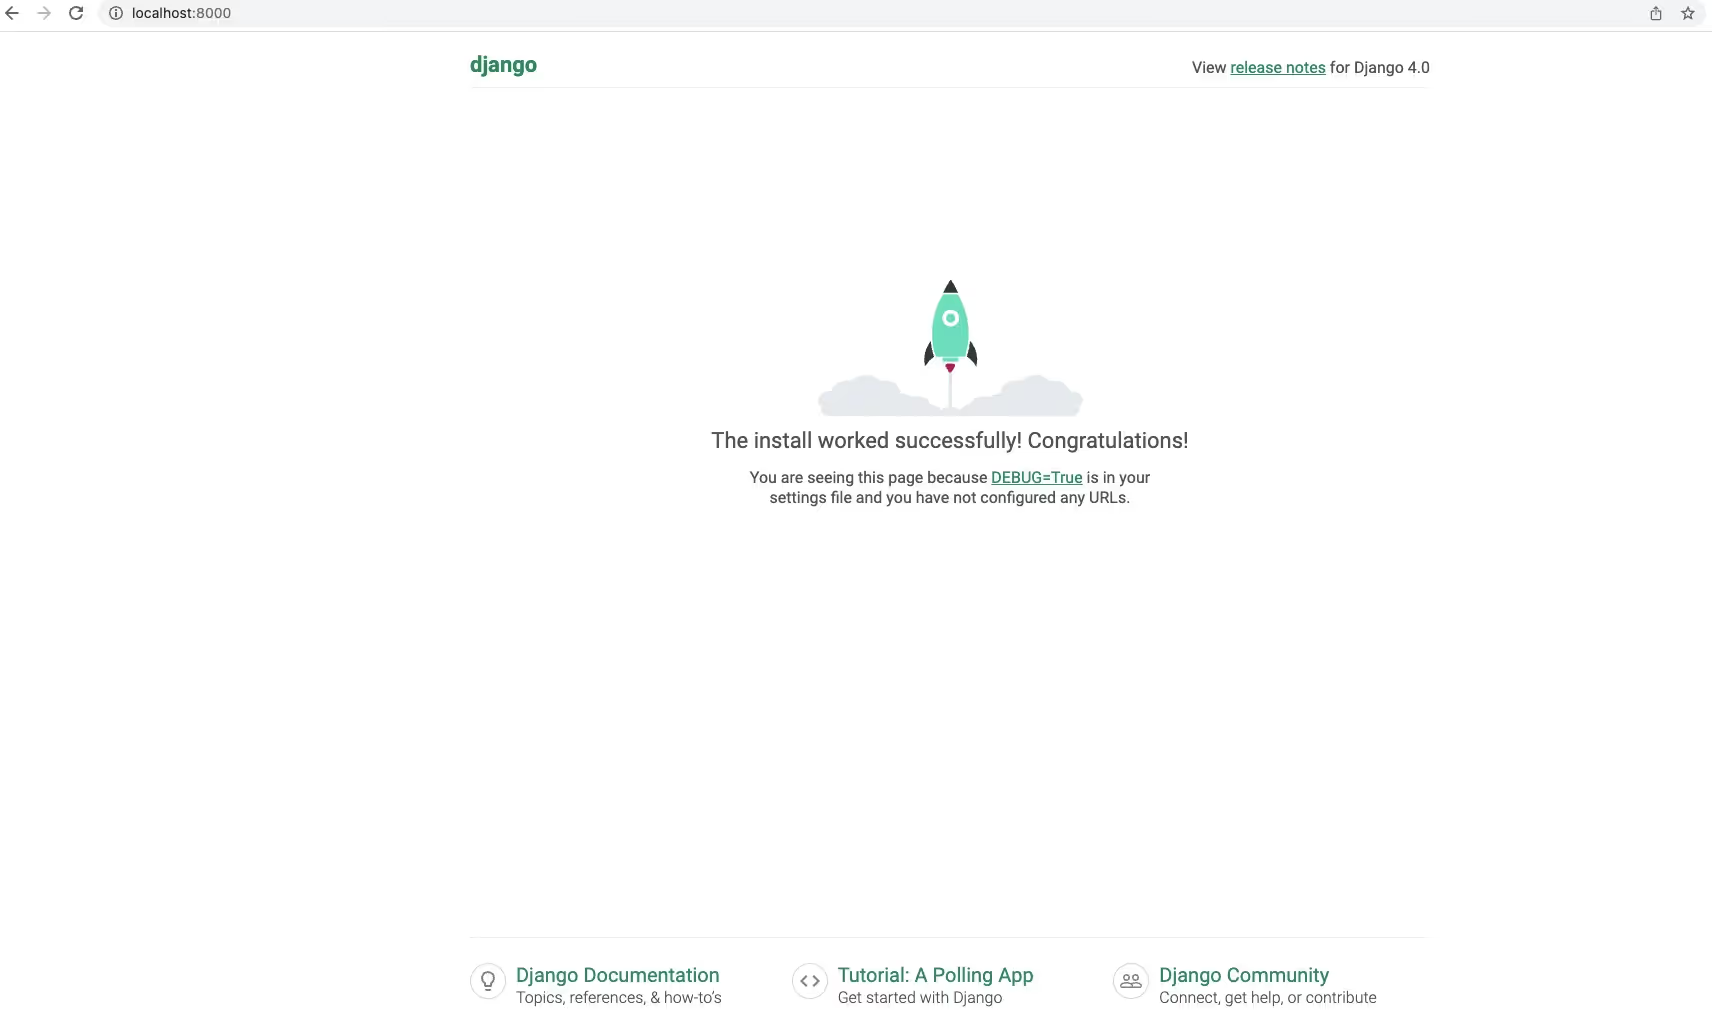
You may see a warning in the terminal that you have unapplied migrations for admin, auth, contenttypes, and sessions. We can ignore this for now, as we will not be using any of these apps.
Modify Settings File
We need to modify the settings file in order to make sending emails work in Django. Open up the project in your favorite code editor (PyCharm is a good option) and open the settings.py file.
Into that file, paste the following settings.
The EMAIL_BACKEND we are using is a core Django package. We don't need to install any additional packages for this to work. If we were using Mailgrid or Sendgun or another optional email backend, we would put that here instead.
The EMAIL_HOST is whatever email hosting service you plan to use to send the emails. In this tutorial, we're using a personal Gmail account to send the emails, so we added our personal account information to the EMAIL_HOST_USER.
This is only recommended for development and testing, or if your app is sufficiently small that you can handle all the emails in your personal email account. You could also set up a dedicated account for your business and use that.
The EMAIL_PORT 587 is the default email port that most email servers use. The EMAIL_USER_TLS and EMAIL_USE_SSL values are security protocols that Django can use to send e-mails.
We left the EMAIL_HOST_PASSWORD blank for now. We'll set that up in the next section.
You should always use environment variables to store all sensitive information, such as usernames and passwords for your app. Don't leave them in this file, this is just for explanation purposes. If you don't know how to use environment variables with Django, check out this tutorial.
Set Up a Gmail Account App Password
In order for Django to be able to send e-mail through Gmail and comply with Gmail's sending policies, you'll need to set up less secure app access and create an app password.
If you don’t set up less secure app access, you’ll get a SMTPAuthenticationError when you try to send emails.
Navigate to myaccount.google.com/lesssecureapps and turn on the less secure app's options.
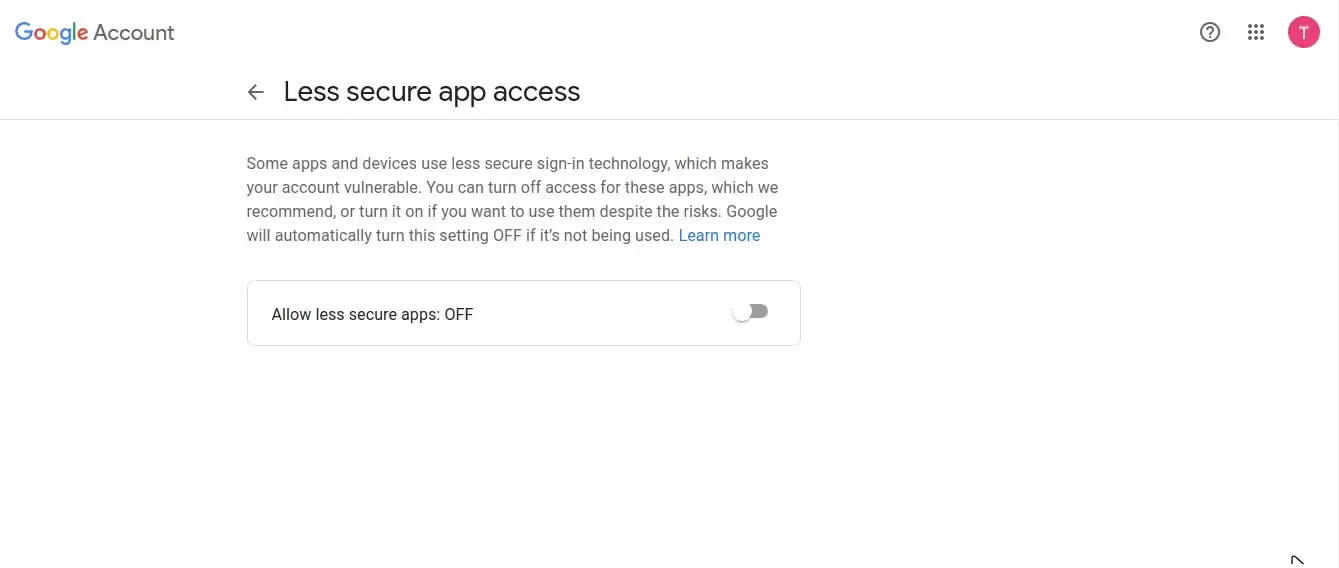
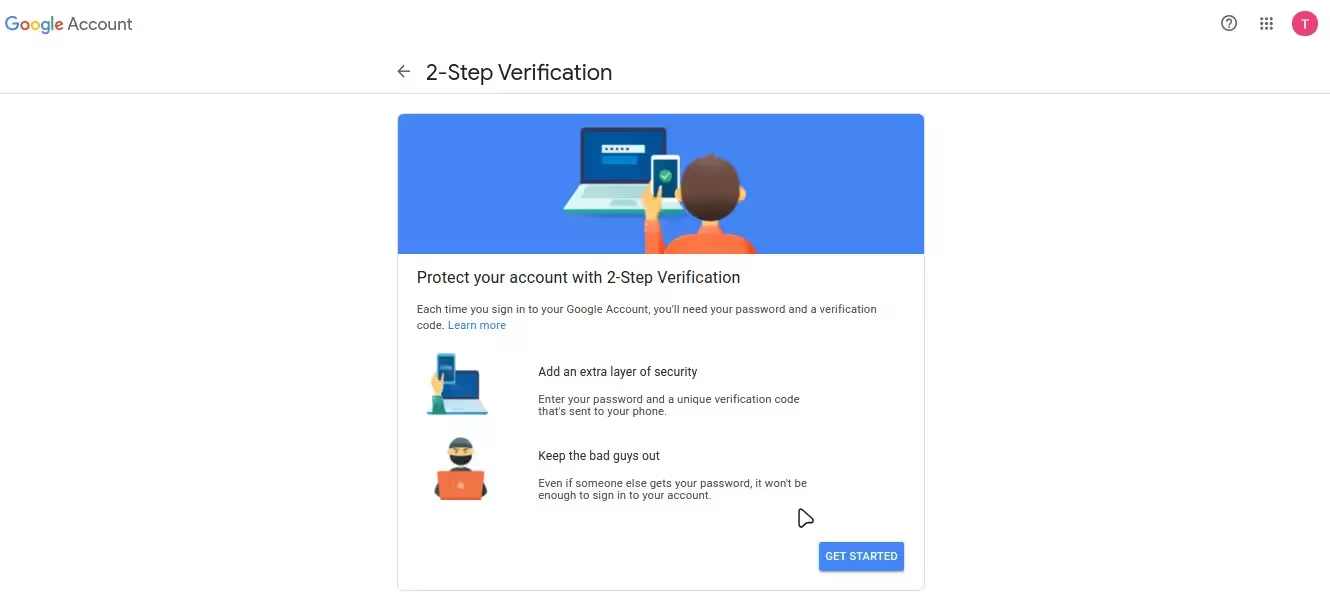
Enable 2-factor authentication. This is required in order to use less secure apps.
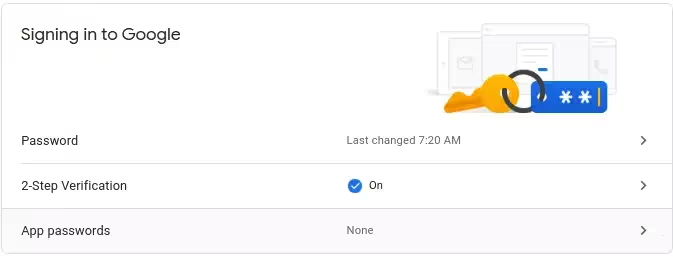
Navigate to myaccount.google.com/security and scroll down to the "Signing Into Google" section. Click on "App Passwords."
You'll be asked to enter your personal Gmail account password. Next, click on "Select App" and input a name for your Django app. Use the same name that you gave to your app in the terminal (DjangoEmailServer.) Click "Generate."
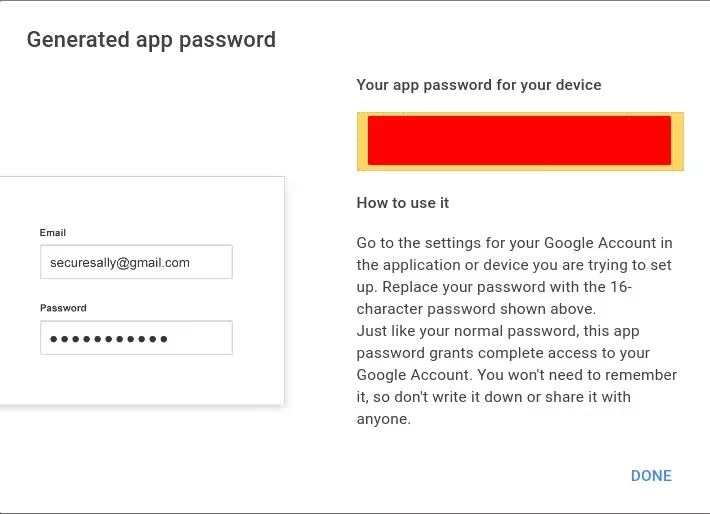
Now you can copy the generated app password into the EMAIL_HOST_PASSWORD value in your settings.py file.
You're now ready to test your email backend and send your first emails in Django, using the Django shell.
Send Email Messages Using the Shell
The easiest way to test your new Django email backend is to send an email using the shell. First, make sure you're still running your Django virtual environment and that you still have access to it in the terminal. If you don't run it using the following command.
Next, run a Django shell command that will spin up a shell with all the settings we just added already configured and ready to use.
Inside the shell in the terminal, paste the following code.
The first URLs import path pulls the Django send_mail module from the Django core mail package. The next URLs import path imports the settings that we just configured. Next, we call the send_mail function, passing it the arguments of subject, message, from_email, and recipient_list.
Note that the recipient list is an array. You can add as many email recipients as you want here. For now, we recommend adding a personal email so that you can access it and make sure that Django has successfully delivered messages.
Navigate to your email client and check that the email has arrived.
Send Emails from a Django File Backend
The next step is to move the code that we just pasted in the terminal into a file in your Django app so that other modules can access it.
Create a new file in your DjangoEmailServer project called django-email-server.py. This is where your email backend logic will live. It's also where we'll add a validation step in the next section.
In the file, import the needed dependencies that we used to send the email in the shell. The import path for each dependency will be the same as it was in the shell. Next, create a function called send.
Inside the function, call the send_email function. Pass the arguments to your custom send function as they should be used by send_email. You can add your custom send function to a Django contact form, or to an API route that will be accessed by a different frontend (like a Javascript web app.)
That's it! You have now configured your Django backend to send emails. From here, you can hook up whatever frontend you have created, whether that be a Django contact form, a React web app, or even a React Native mobile app.
Validate Email Addresses Using AbstractAPI
Sending emails from your Django app is great, but what we have right now is not very secure. Let's add a step to validate the recipient email to make sure it is valid and active before we try to send an email to it. We won't worry about the sender's mail address in this case, as we are only sending emails from our own account.
Acquire an API Key
Navigate to the AbstractAPI Free Email Validation API homepage and click on "Get Started."

If you've already signed up, you may need to log in. If you haven't signed up, you’ll be asked to provide a valid email address and password. Once you’re in, you’ll land on the API’s dashboard, where you’ll see your API key and links to documentation and pricing.
Use Your API Key to Send a Request to the API
We'll use the Python requests module to send a GET request to the AbstractAPI endpoint. You'll need to grab your API key and the AbstractAPI URL from your API dashboard.
Inside your django-email-server file, write a function called validate_email that accepts an email as a parameter and sends it to the API.
Examine the API Response
You can call this function in the Django shell too. Try it, passing it a test email, and take a look at what you get back from the API. It should look something like the following.
As you can see, there are many fields we can look at to determine if the email is valid or not. Let's write a function that pulls these values out of the response, and returns true if all of the values indicate that the email is valid, and false if not.
Now, we can add this is_valid_email call into our validate_email function.
Next, we'll add our validate_email function step into our send function to check the recipients' email before we try to send to it.
That's it! We've now validated the sender's email address and used the result of that validation check to determine whether or not we should use it to send emails.
Conclusion
In this tutorial, we learned how to spin up a virtual Python environment, how to create a Django app, and how to configure the Django backend to send emails. We also added a validation step to validate the incoming emails before attempting to send to them.
The next step here would be to hook up our frontend app to this backend. If your app is a monolith, that frontend app might be a Django contact form. If you are using a microservices architecture to build your app, you can use a simple AJAX request to send the emails from your Javascript frontend, or whatever other client you have created.
FAQs
How Do I Send an Email In Django?
To create an email backend in Django, you can use the provided Django mail import. The django.core.mail module provides a send_email method that accepts a sender address, recipient addresses, subject and email messages. You need to configure the module in your Django settings file before you can use it.
To configure the module, add the EMAIL_BACKEND, EMAIL_HOST, EMAIL_HOST_USER, EMAIL_HOST_PASSWORD and EMAIL_PORT values to settings.py. The email backend will be the Django core mail backend smtp server.
The port will be 587, the email host and user will be your personal email account (for testing and development), and the email password will be the less secure app access app password you receive from your email host when you configure your app for less secure access to your email account.
How Do I Use Django With Gmail?
In order to send emails from Gmail using Django, you need to configure your Gmail account to allow your Django app to have less secure access. You can do this by visiting myaccount.google.com/lesssecureapps and adding a new app for less secure access. You'll need to enable MFA and generate an app password. Once you have the password, you can add it as the EMAIL_HOST_PASSWORD in your Django settings.py file.
What Is EMAIL_BACKEND in Django?
Django allows you to write your own email backend. The EMAIL_BACKEND setting in your settings file is the Python import path for your backend class. The easiest way to set up an email backend in Django is to use the django.core.mail module. You can use this to send emails from Django using your personal email account, or an account that you set up for your business using a reputable email provider like Gmail.


