Getting Started With the API
Acquire an API Key
- Navigate to the API documentation page. You’ll see an example of the API’s JSON response object to the right, and a blue “Get Started” button to the left.
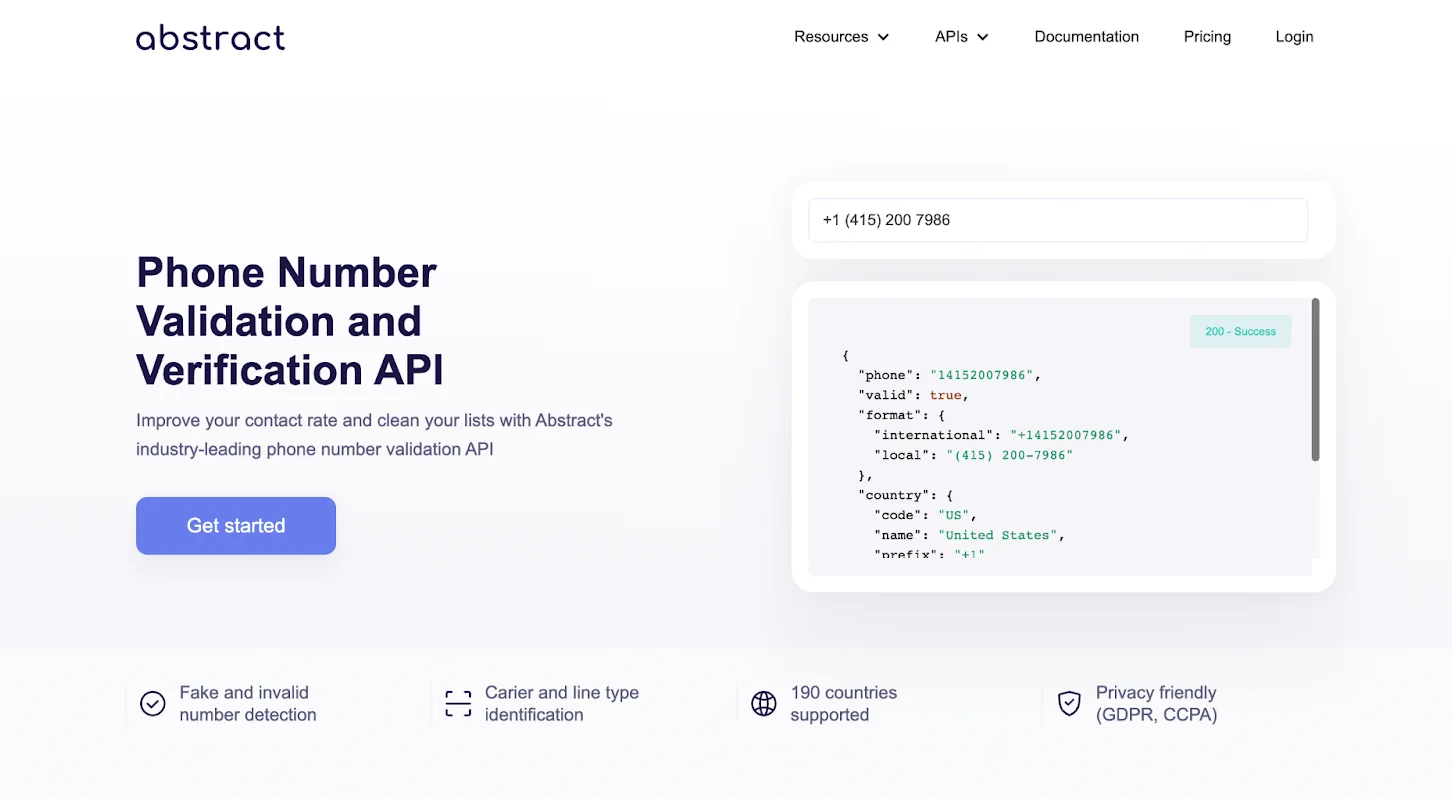
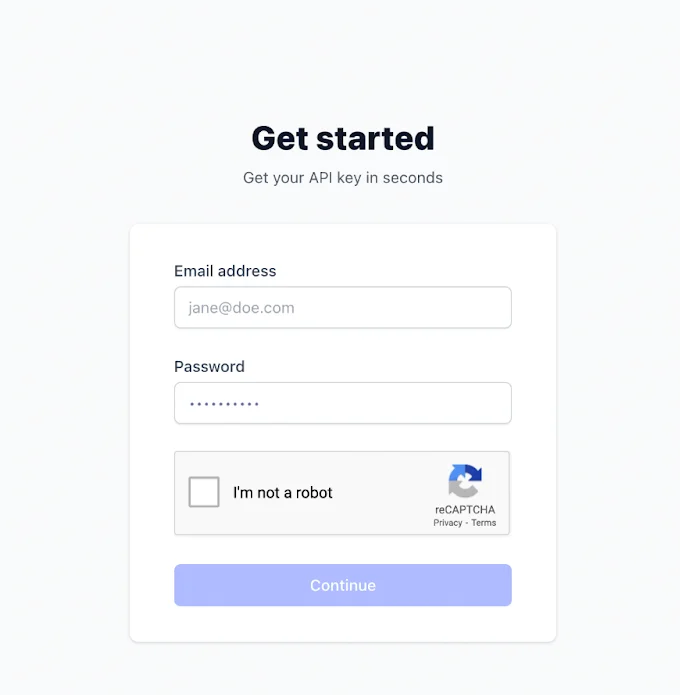
- Click the “Get Started” button. You’ll be taken to a page where you’re asked to input your email and create a password. Every AbstractAPI API requires a different key, so even if you have an existing API key from a different AbstractAPI API, you’ll need to provide your email to get a new one.
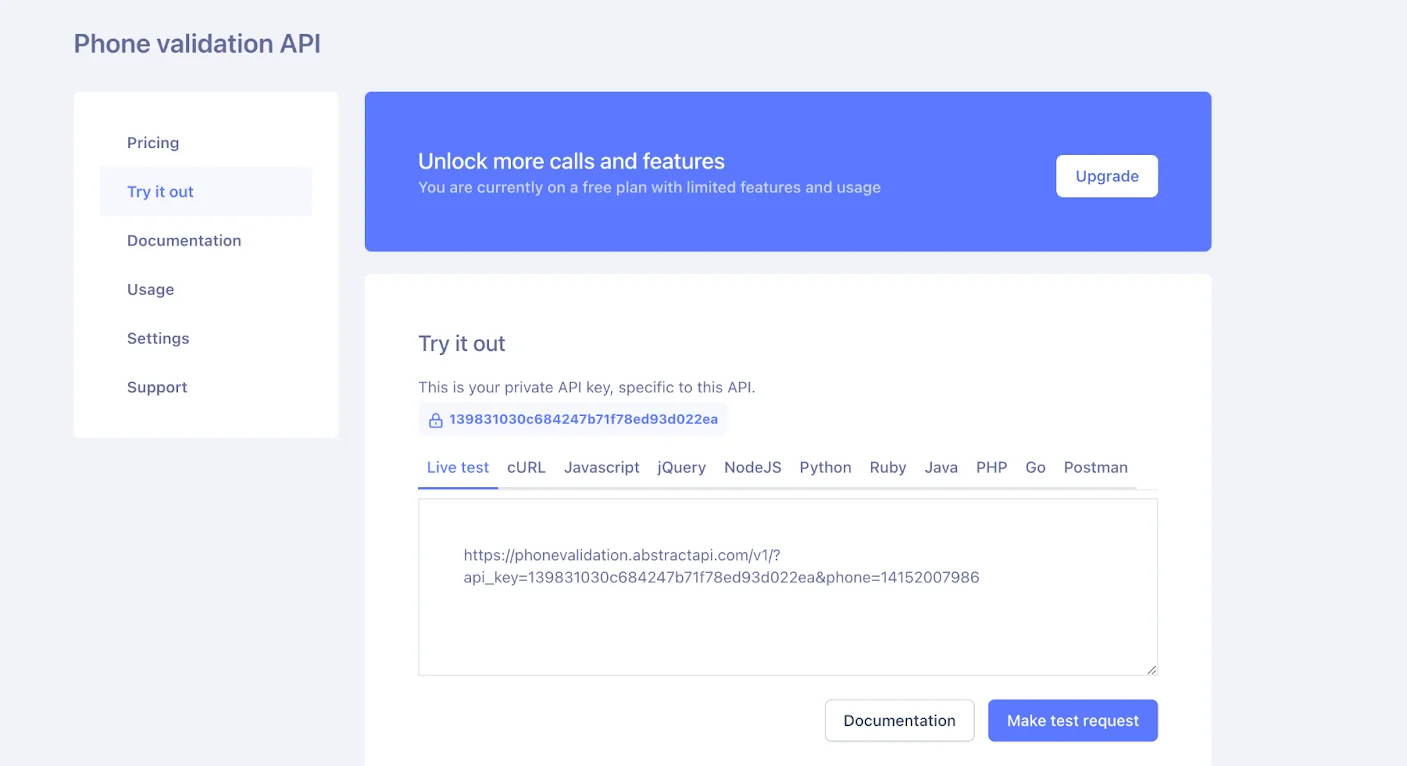
- You’ll land on a page that asks you to sign up for a paid plan—however, you can click “Back” in the top left corner to be taken to the free version of the API, which looks like this:
Make a Test API Request
Let’s use the provided “Make test request” button to send our first request to the API.
- First, make sure that the “Live Test” tab is selected above the provided input box. Inside the box, you should see a URL. The URL points to version 1 of the AbstractAPI Phone Number API and includes a query string that contains your API key and an example phone number.
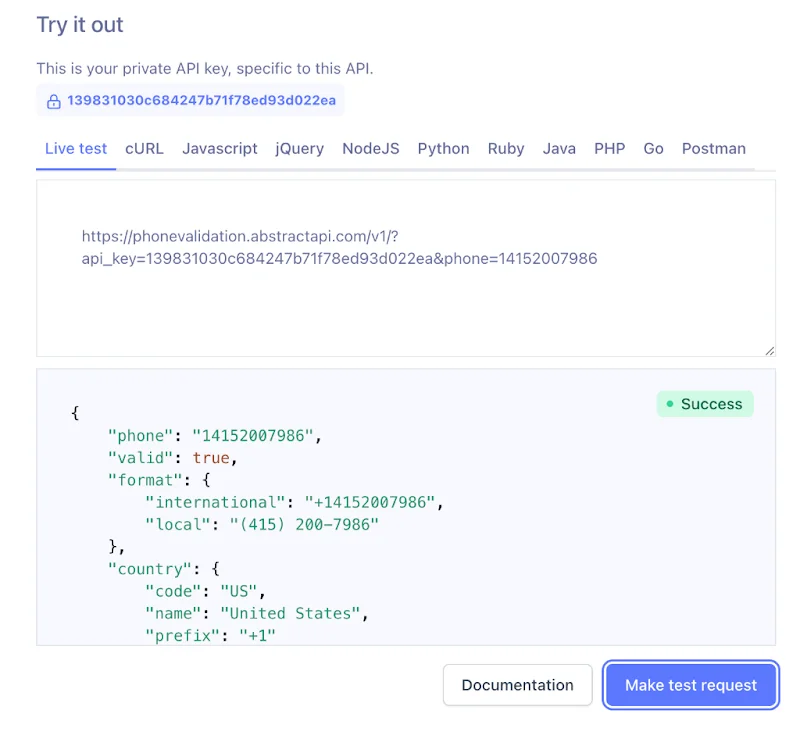
- Click the “Make test request” button. You should receive a 200 status and a JSON response. Let’s take a look at the response object:
This is all of the information that will be returned to you about a phone number by the free version of the API. To get more detailed information, you’ll need to upgrade to a paid plan.
Making an API Request Using Node.js
Now that we understand how to send an API request, and know what information we should expect to get back, let’s use the API to validate a phone number in a Node.js app.
Spin Up a Simple Node.js App
This tutorial assumes that you either have an existing Node.js app or that you’re familiar enough with Node to get one running on your computer. Refer to this tutorial if you need help with that.
Install an HTTP Client
If your app already has an HTTP Client installed, skip this step.
While the Phone Number API doesn’t require any SDKs or special libraries, you will need to have an HTTP client in your app in order to make requests. If you don’t already have one installed, we’ll quickly install the Axios client using yarn.
- Navigate to the root of your app directory
- Install Axios using Yarn via the command line
Create a Route to Handle Phone Validation Requests
- Create a file called phone-validation.js. This is where you’ll handle all AbstractAPI Phone Number API requests and responses.
- Create a route in your index.js file to handle requests from the main app to the phone-validation.js handler
We’ll write the handlePhoneValidation function in a subsequent step.
Make a Request to the API Using Axios
The AbsctractAPI provides a handy code snippet that we can copy into our app and use to make the request.
- Navigate to your free Phone Number API tester page
- Select the “Node.js” tab above the example input box
- Click the blue “Copy Code” button, or highlight and right-click to copy the provided code snippet
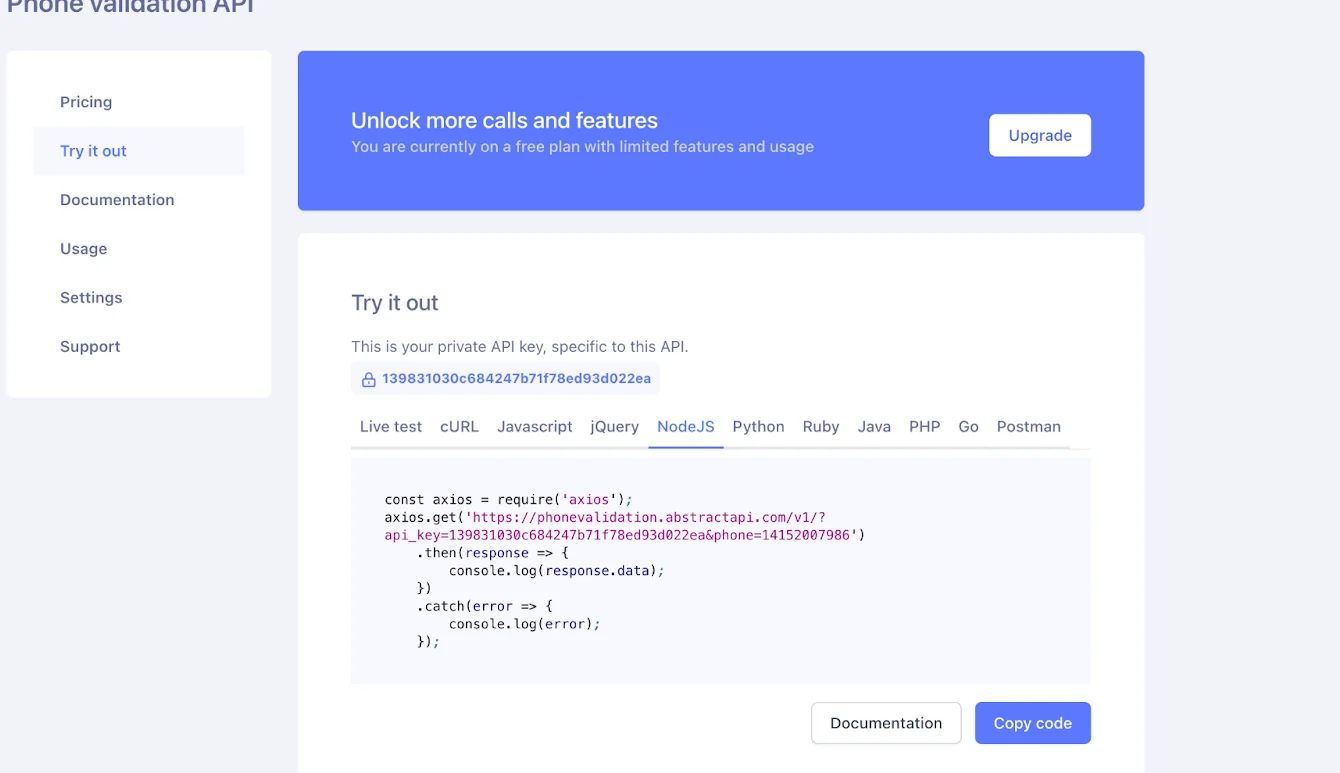
- Paste the snippet into your phone-validation.js file
- Reformat the copy-pasted code snippet
The provided snippet is fine, but we can’t do much with the hardcoded string in there. Let’s do a bit of reformatting of the code so we can pass variables to the function. We’ll also make it easier to read. Also, we’ll use async/await to be consistent with the most modern Node.js practices
Now, we’re able to pass in any phone number to the validatePhoneNumber function, and the function will make a request to the Free Phone Validation API, sending that number for validation. We wait for the response and then return the response data.
Don’t forget to replace the API key temp string with your API key.
- Handle the response in your index.js file
Now that our validatePhoneNumber function is sending the request to the Free Phone Number Validation API, let’s write the handlePhoneValidation function and call the function from the ‘/validate’ route we created earlier in index.js.
Here, we’ve called the validatePhoneNumber function from inside our ‘/validate-phone’ request handler, and passed in the phoneNumber parameter for validation. This assumes that you’ll be calling the endpoint and passing in the phone number you want to validate as a query string like “?phone=PHONE_NUMBER”.
Use the Validated Data
Once you’ve gotten your response object back from the API, you can process it and do whatever else you need to do with it.
The most common use case will be pulling the valid boolean field from the object and returning that information to the client so the client can either proceed using the validated number or alert the user that the number was invalid.


