Why is Data Validation Important?
Validation prevents improperly formatted data from entering your app’s database or other information systems. It also helps to prevent bad actors from injecting scripts into the application’s form input fields.
Client-side validation is the first line of defense in data validation. Performing client-side validation means making sure all the form fields on the UI have been correctly filled out and formatted, and that the form does not contain any malicious data.
Once we determine that all validation parameters are met, we send the information to the server.
Getting Started With React Native
Some familiarity with React Native will be helpful for this article, but not required. First, let’s spin up a simple React Native App using Expo. Expo is a framework that provides everything you need to get a development environment up and running quickly. Think of it like Create React App for React Native.

Install the Expo CLI
The first thing we need to do is install the Expo CLI.
Download Expo Go
Next, download the Expo Go app for your mobile device. This tutorial will assume you are running the app on an iPhone, but it shouldn’t matter if you are running it on Android instead. Just download the right version of Expo Go for your device.
Expo Go at the Android Play Store
Spin Up Your Expo App
For more detail on Expo, getting started, and what else you can do with Expo, check out the Expo docs.
To check that things are working, start up the app using the CLI.
This command tells Expo to start the Metro bundler, which compiles and bundles the code and serves it to the Expo Go app. Open up the Expo Go app on your phone, or scan the QR code that was printed to your console to connect to the Metro bundler and view the new app.

That’s all we need to do to get our new React Native app up and running!
Validation With Native Components
You can build a form and do custom validation with Native UI Components. Let’s make a form input that accepts and validates an email address. Create a file next to App.js called NativeComponentEmailInput.js.
We’ll use the TextInput and TouchableHighlight components to build a simple email form.
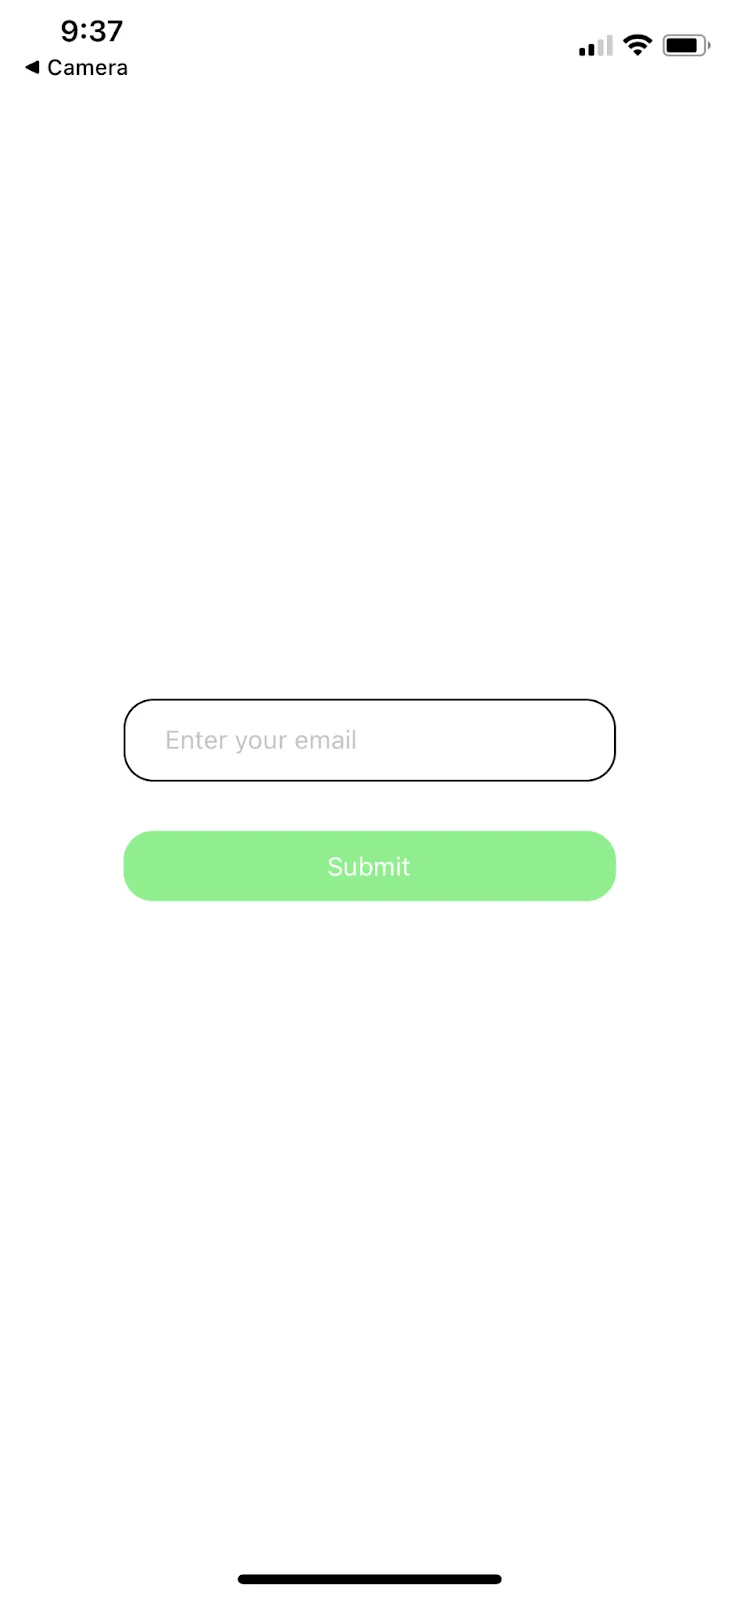
Set the initial email state to an empty string using the useState hook, and pass that to the TextInput component as the value prop. Next, use onChangeText to update the state of the email to the value the user inputs. Our TouchableHighlight calls a handleSubmit function that logs our data to the console.
Remove all the boilerplate from App.js, and render the new component instead.
Check out the newly rendered input in your mobile app
Add Validation Logic
Let’s use a third-party email validation API to handle email validation for us. We could also write our own validation function using a Regular Expression or some custom logic that checks the string, but honestly, relying on a service to do this for us is much easier.
We’ll use AbstractAPI’s Free Email Validation and Verification API to handle email validation.
Acquire an API Key
Go to the Email Validation API Get Started page. Click the blue “Get Started” button.
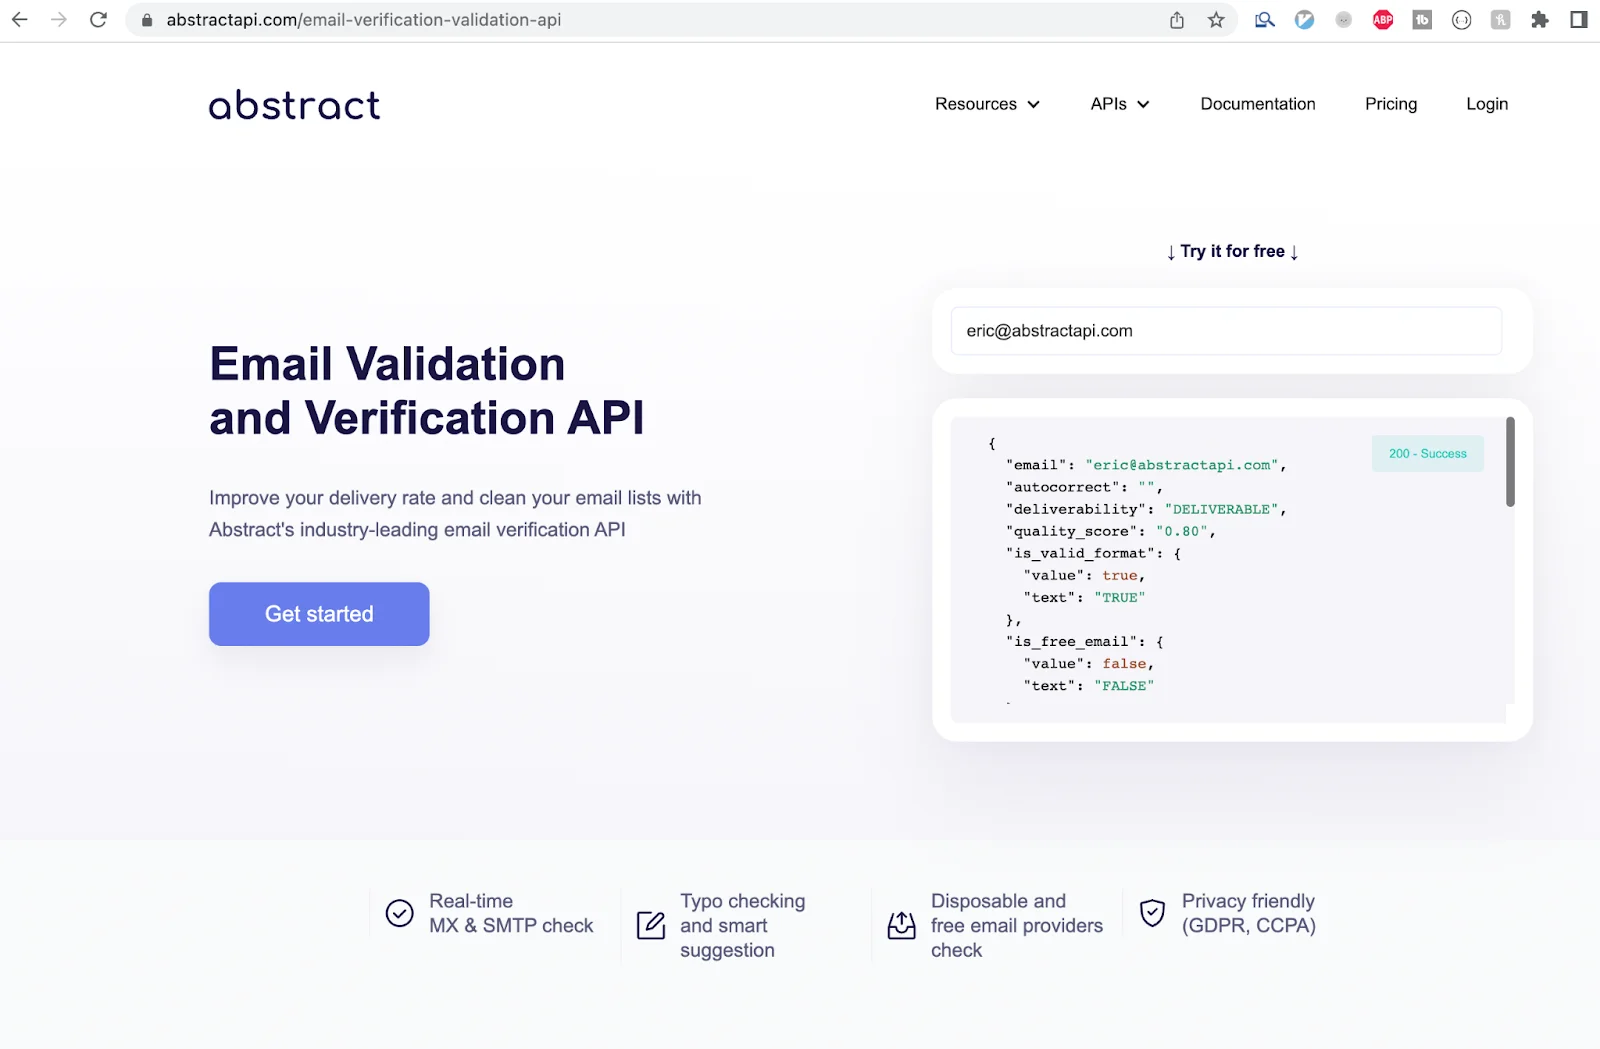
You’ll be asked to sign up if you’ve never use AbstractAPI before. If you have used the API service before, you’ll need to log in. Once you’ve done that, you’ll be taken to the API’s homepage where you’ll see options for documentation, pricing, and support.
You should also see your unique API key on this page. Each Abstract API has a unique key, so even if you’ve used AbstractAPI before, this key will be different.
Use the Key to Send a Validation Request
React Native uses the Fetch API to send and receive HTTP requests.
Write a function called sendEmailValidationRequest to send the request to the API using Fetch.
The JSON response we’ll eventually get from the API will look something like this:
There’s a lot more information in this object that has been omitted here. The part we’re interested in for now is the is_valid_format field. Let’s return the value boolean from that field so that our validation function can use it.
Use the Response in the Submit Function
Once we have our validated response from the API, we can use it in the handleSubmit function. Add a call to the sendEmailValidationRequest function above the console.log line. Next, use the boolean response to decide whether to submit the valid email, or reject it.
When the user clicks “Submit,” the handleSubmit function will first send the email input to the API for validation. If the email is valid, it will send the information to the server.
Handle Errors
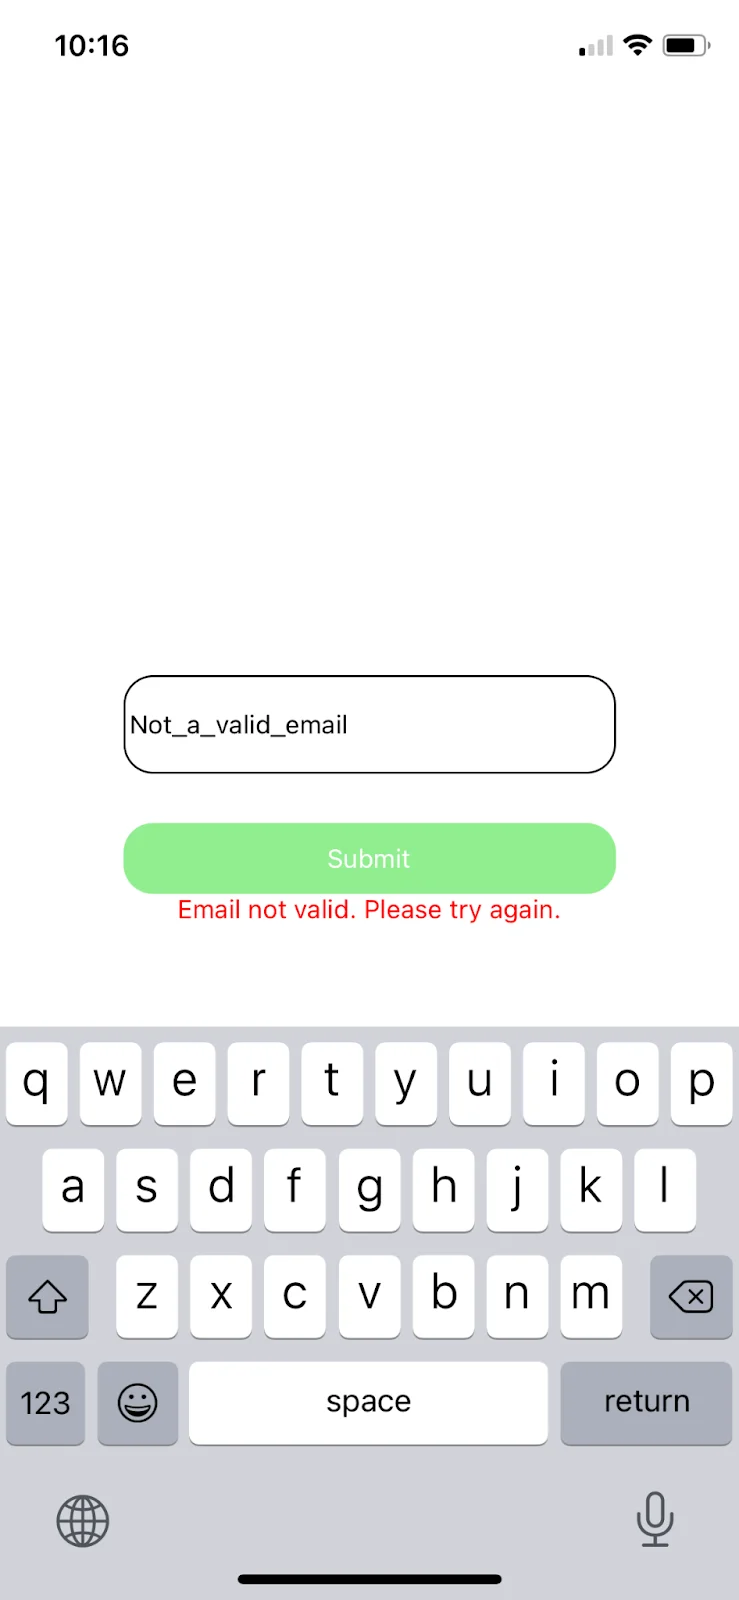
We need to show the user an error message in the case that their email is not valid. Create a value for the error in state, and add a Text component to handle rendering the error message.
Inside the if/else logic in our submit function, handle setting the error message if the email is invalid.
Type an invalid email address into the input and click “Submit.” When the API response returns from AbstractAPI, you should see your error message displayed.
Validation With Formik and Yup
Formik is a library that takes the headache out of building forms by providing out-of-the-box components that handle form creation, validation, etc. Yup is a schema builder that can be used to build and validate schemas. Together, they make form validation quick and easy.

Install formik and yup to your project using Yarn.
Add a new file next to App.js called FormikEmailForm.js. We’ll create a new form using Formik and render that inside App.js instead to test it.
Scaffold out a basic Formik component inside your new file.
You may notice that a lot of the component code is the same. Formik simply provides a wrapper for us to wrap our inputs and handles the validation and submission logic for us. You can copy a lot of the code from the last component.
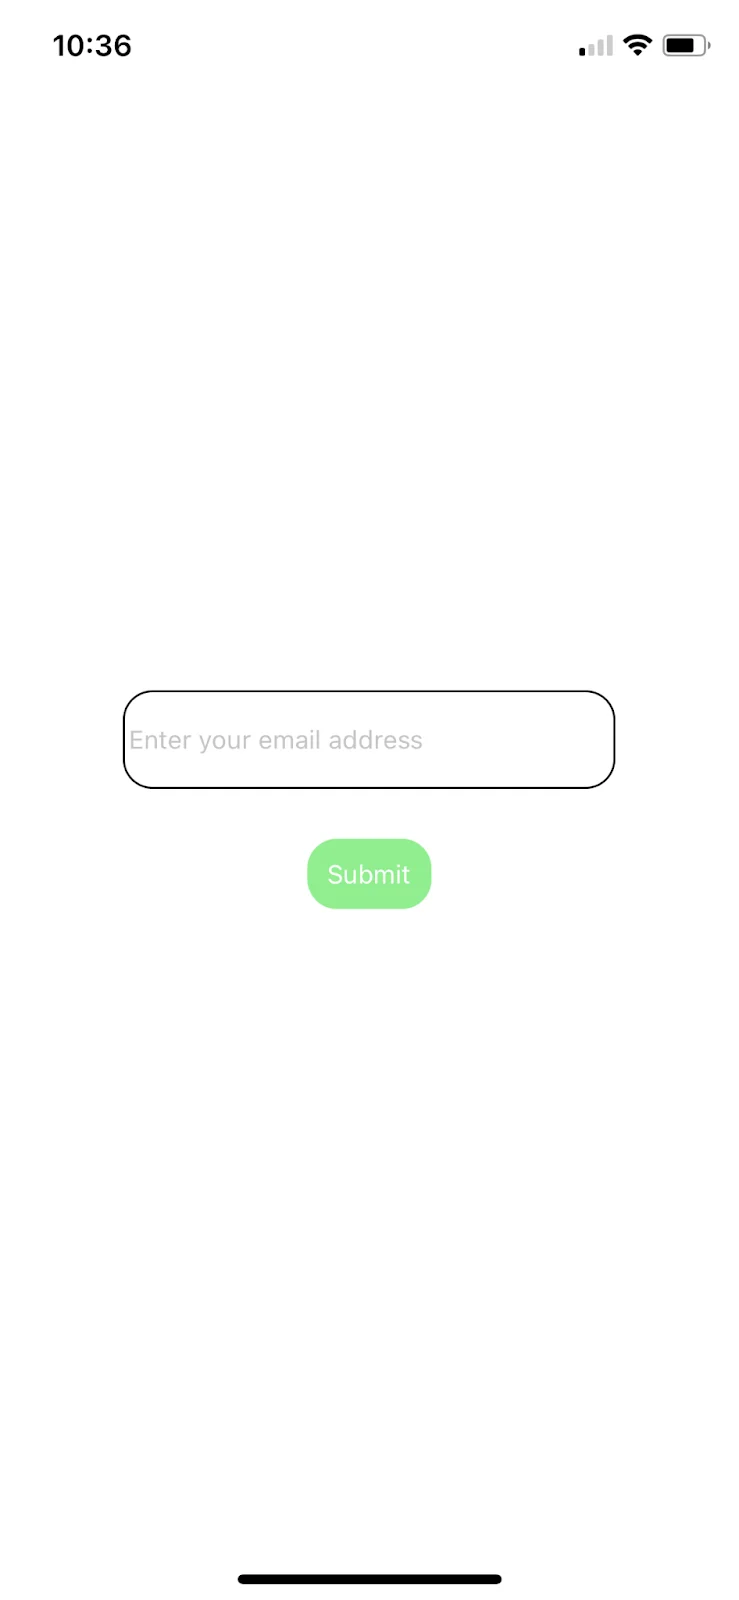
Remove the previously rendered NativeComponentEmailForm from App.js and render the new Formik component instead. Check back in your mobile app to see the new component.
Add Validation Logic
Use Yup to validate your input using a custom schema.
Create a Validation Schema
Yup enables you to create a custom schema with as many validation fields as you need for your form. It also provides out-of-the-box methods to recognize and validate inputs and return error messages if validation parameters are not met.
Add the Schema to the Formik Form Component
Formik provides a handy validate prop that accepts any form of validation you choose. If you’d like to send an async request to the AbstractAPI endpoint, you could do that there. You can also validate against your Yup schema using the validationSchema prop.
Yup automatically generates errors with error message strings if the input doesn’t match the schema. We need to pass the validation error through Formik and render the message in a text component.
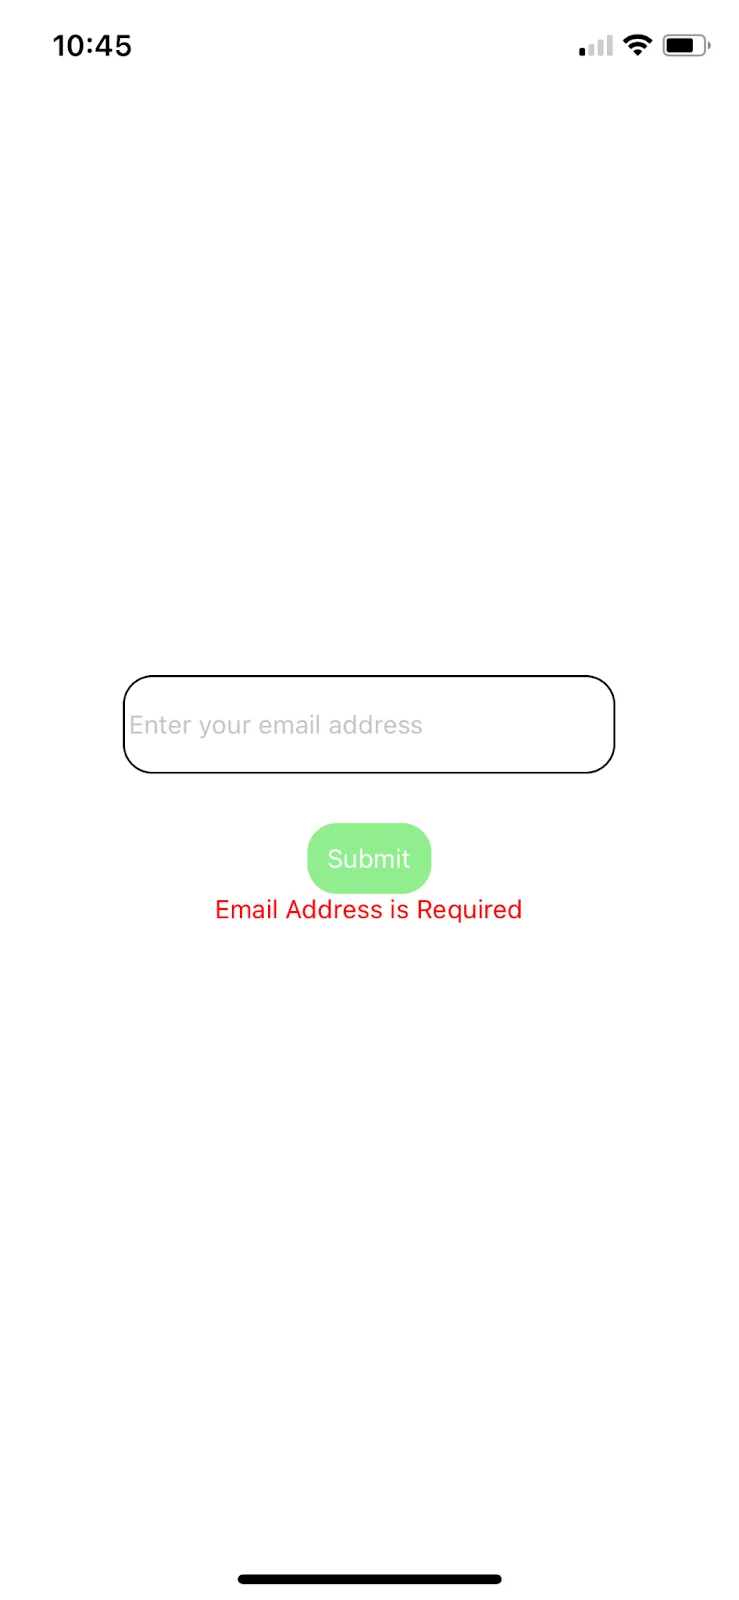
The easiest way to test this is to go back to your mobile app and tap “Submit” without entering anything into the text input. Since we now have a Yup validation schema with a required field and associated error message, you should see the “Email address is required” error rendered.
Validation With React Hook Form
Like Formik, React Hook Form is a library that provides out-of-the-box form components and validation. It relies on React Hooks to do this. React Hook Form allows you to register a form component to the React lifecycle and validate data using a custom validation function.
Install React Hook Form using Yarn.
Create a new file called ReactHookEmailComponent.js next to App.js and scaffold out a basic React Hook form component. You’ll use the useForm hook to get access to a handleSubmitFunction, and a Controller, which will wrap your components.
You’ll probably notice we copied over the same StyleSheet from the last two components. No point re-inventing the wheel.
Remove the old component from App.js and render this one instead.
Add Validation Logic
The Controller component has a useful rules prop that allows you to provide some validation parameters for the input. The rules prop accepts several parameters like minLength, maxLength, required. It also allows you to pass a RegEx pattern for validation, or pass a custom validate function.
Pass Validation Parameters to the Controller
Let’s make our email required, and also use our AbstractAPI validation function in the validate field.
We can reuse the same email validation function that we used in the first example. Don’t forget to import your API key and AbstractAPI base URL.
Handle Errors
React Hook Form also provides an errors field via the useForm hook. Let’s grab it now and use it to display an error to our user.
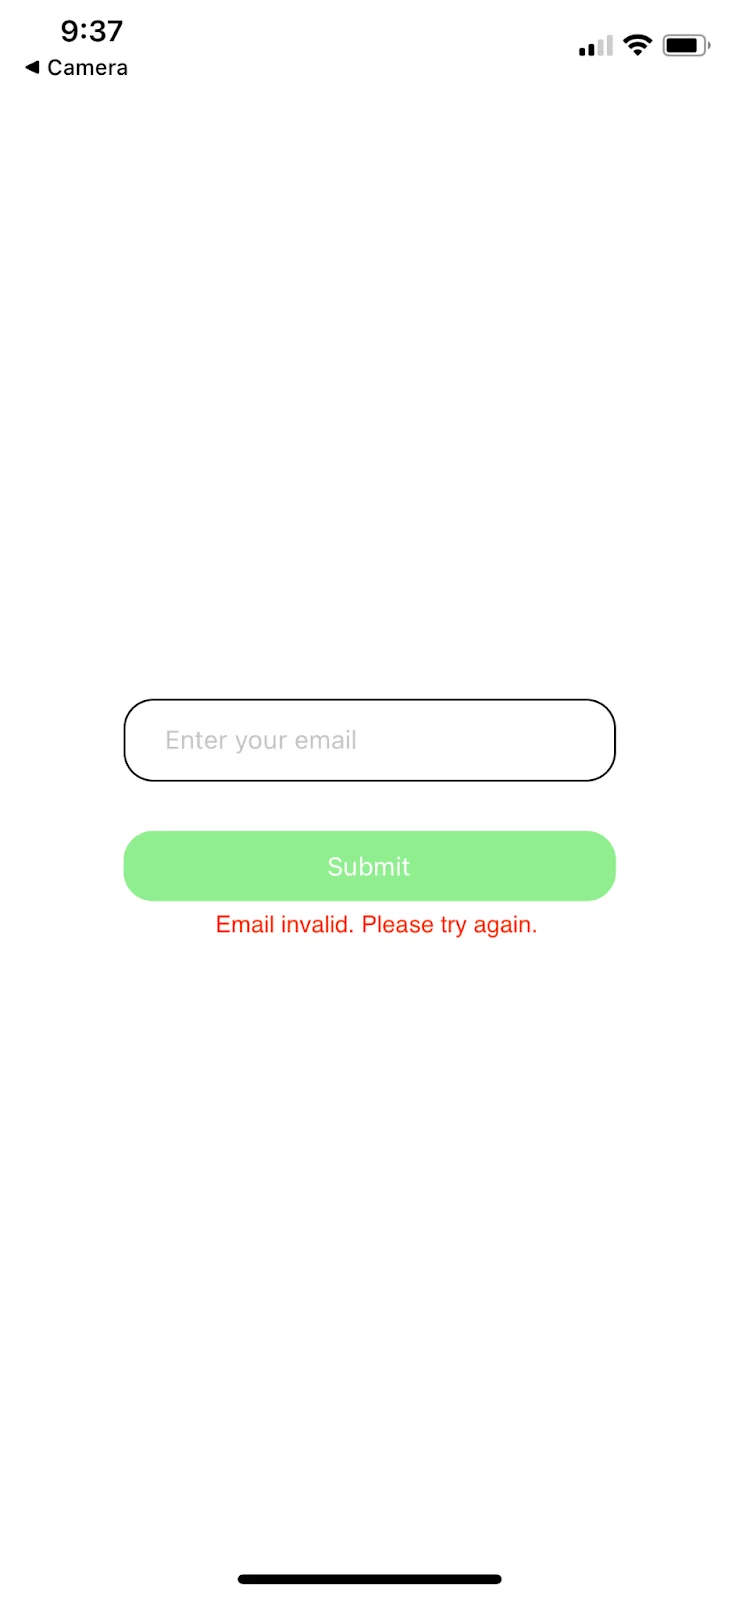
Now if you try to submit an empty form or input an email address that isn’t valid, React Hook Form will catch the errors and render our error messages.
Conclusion
In this article, we explored three different methods of doing validation for a form with React Native. We also explored using the AbstractAPI Email Validation and Verification API to validate the format of email addresses. From here, adding a password field and first and last name fields would be very simple.
There is a lot more we could do with these simple inputs. For example, we aren’t handling network errors that may arise while sending the validation request to the endpoint. We also need to display a loading indicator or spinner to the user while the request is sent.
For now, however, we have a solid start on a robust, well-validated user input form for our mobile app.
FAQs
What is React Native?
React Native is a JavaScript mobile framework that enables developers to write native mobile applications using React. React Native spins up threads that interpret the JavaScript code, then creates a native bridge between the React JS code and the target platform. React Native then transfers the React JS component hierarchy to the mobile device view.
How Do I Validate Email in React Native?
You can do email validation in React Native using the Native Components TextInput component. The TextInput accepts user input, which can be stored in the component state as an email address. The TouchableHighlight component can serve as a button that runs a validation function against the email address before submitting it to the server.
There are many ways to write a custom email validation function. One way would be to match the email string against a RegEx pattern to check that it is formatted properly. You could use a third-party validation schema like Yup, or you could use a dedicated validation API like AbstractAPI’s Free Email Validation API.
How Do I Validate a Phone Number in React Native?
There are many ways to validate a phone number in React Native. The simplest way is to use a package like react-native-phone-number, which provides out-of-the-box validation methods. You could also use a dedicated phone number validation API like AbstractAPI’s Free Phone Number Validation API.


