How to Resize an Image in Numpy
The Numpy library contains a resize function that changes the size of a Numpy array. Unfortunately, this function does not take into consideration an interpolation parameter or extrapolation.
Interpolation and Extrapolation
Interpolation and extrapolation both refer to ways of inferring new data based on existing data. Interpolation refers to the process of predicting values that fall within a range of points. Extrapolation refers to the process of predicting values that fall outside a range of points.
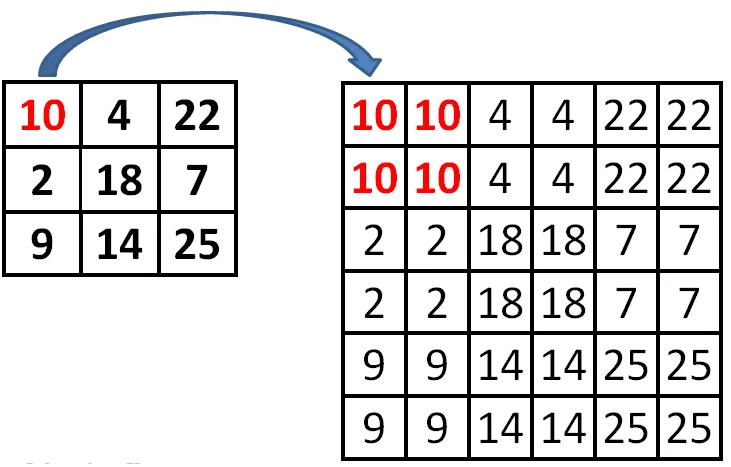
What does this have to do with image processing? When an image is resized, the resized image will contain data that was not in the original image. Interpolation and extrapolation occur when you increase or decrease the total number of pixels and map your image from one pixel grid to another.

Because Numpy alone does not account for interpolation or extrapolation, it is necessary to use a specialized image manipulation library like OpenCV or SciKit Image to work with image data.
Both of these libraries are built on Numpy and operate on the Numpy array.
Resize Images With OpenCV
OpenCV is the most widely used open-source Python library for image processing, manipulation, and computer vision. It exposes a function that reads an image into a Numpy array and provides further methods to work with the image as an ndarray.
Here is a basic method to scale images in OpenCV:
The imread function reads a standard image file into memory and converts it to a Numpy array. Next, the resize function accepts the image, the desired size, and an interpolation parameter. It adjusts the size of the Numpy array based on these parameters.
Finally, the imwrite function takes the resulting Numpy array, converts it back into a regular image, and writes the output image to a file with a typical image file extension. The dimensions you provide to the dsize parameter directly translate to the new image width and height in pixels.
The interpolation parameter can be any of the following:
- INTER_NEAREST - interpolation using the nearest neighboring pixels
- INTER_LINEAR - bilinear interpolation (default)
- INTER_AREA - resampling using pixel area relation.
- INTER_CUBIC - bicubic interpolation over 4x4 pixel neighborhood
- INTER_LANCZOS4 - Lanczos interpolation over 8x8 pixel neighborhood
For more information on the different types of interpolation, read the docs.
Resize Images Using SciKit-Image
SciKit Image is another Python library based on Numpy that does image resizing with interpolation and extrapolation.
Here is the basic code for resizing an image with SciKit Image:
Similarly to OpenCV, SciKit Image exposes imread and imsave functions for converting image data to and from an ndarray. The resize function accepts the ndarray and a new width ratio and height for the output image.
Resize Images Using Pillow (PIL)
It's not necessary to use OpenCV or SciKit Image to resize images in Python code. It is possible to write your own function to resize an image, or to use a different library that isn't based on Numpy.
One such library is Pillow (Python Image Library fork since PIL was deprecated.) The code for resizing images using Pillow) is similar to the code for doing it in OpenCV or SciKit Image although the underlying method is different.
PIL Image Object
PIL does not convert an image into an ndarray. Rather, it converts images into PIL Image objects. The PIL Image object provides methods for opening and reading image data, for saving image data to a file, and for manipulating image data. It is possible to convert Numpy arrays to PIL Image objects and vice versa.
Here is the basic method for resizing an image in PIL.
As you can see, the process for working with images in PIL is much the same as for the other libraries from the outside.
Resize Images Using AbstractAPI
Let's quickly look at an alternative method to Numpy: the AbstractAPI Image Processing API. This API allows you to send an HTTP request to resize an image at a hosted URL.
Acquire an API Key
Navigate to the Images API home page and click “Get Started." You may need to sign up with your email and a password. The API is free.

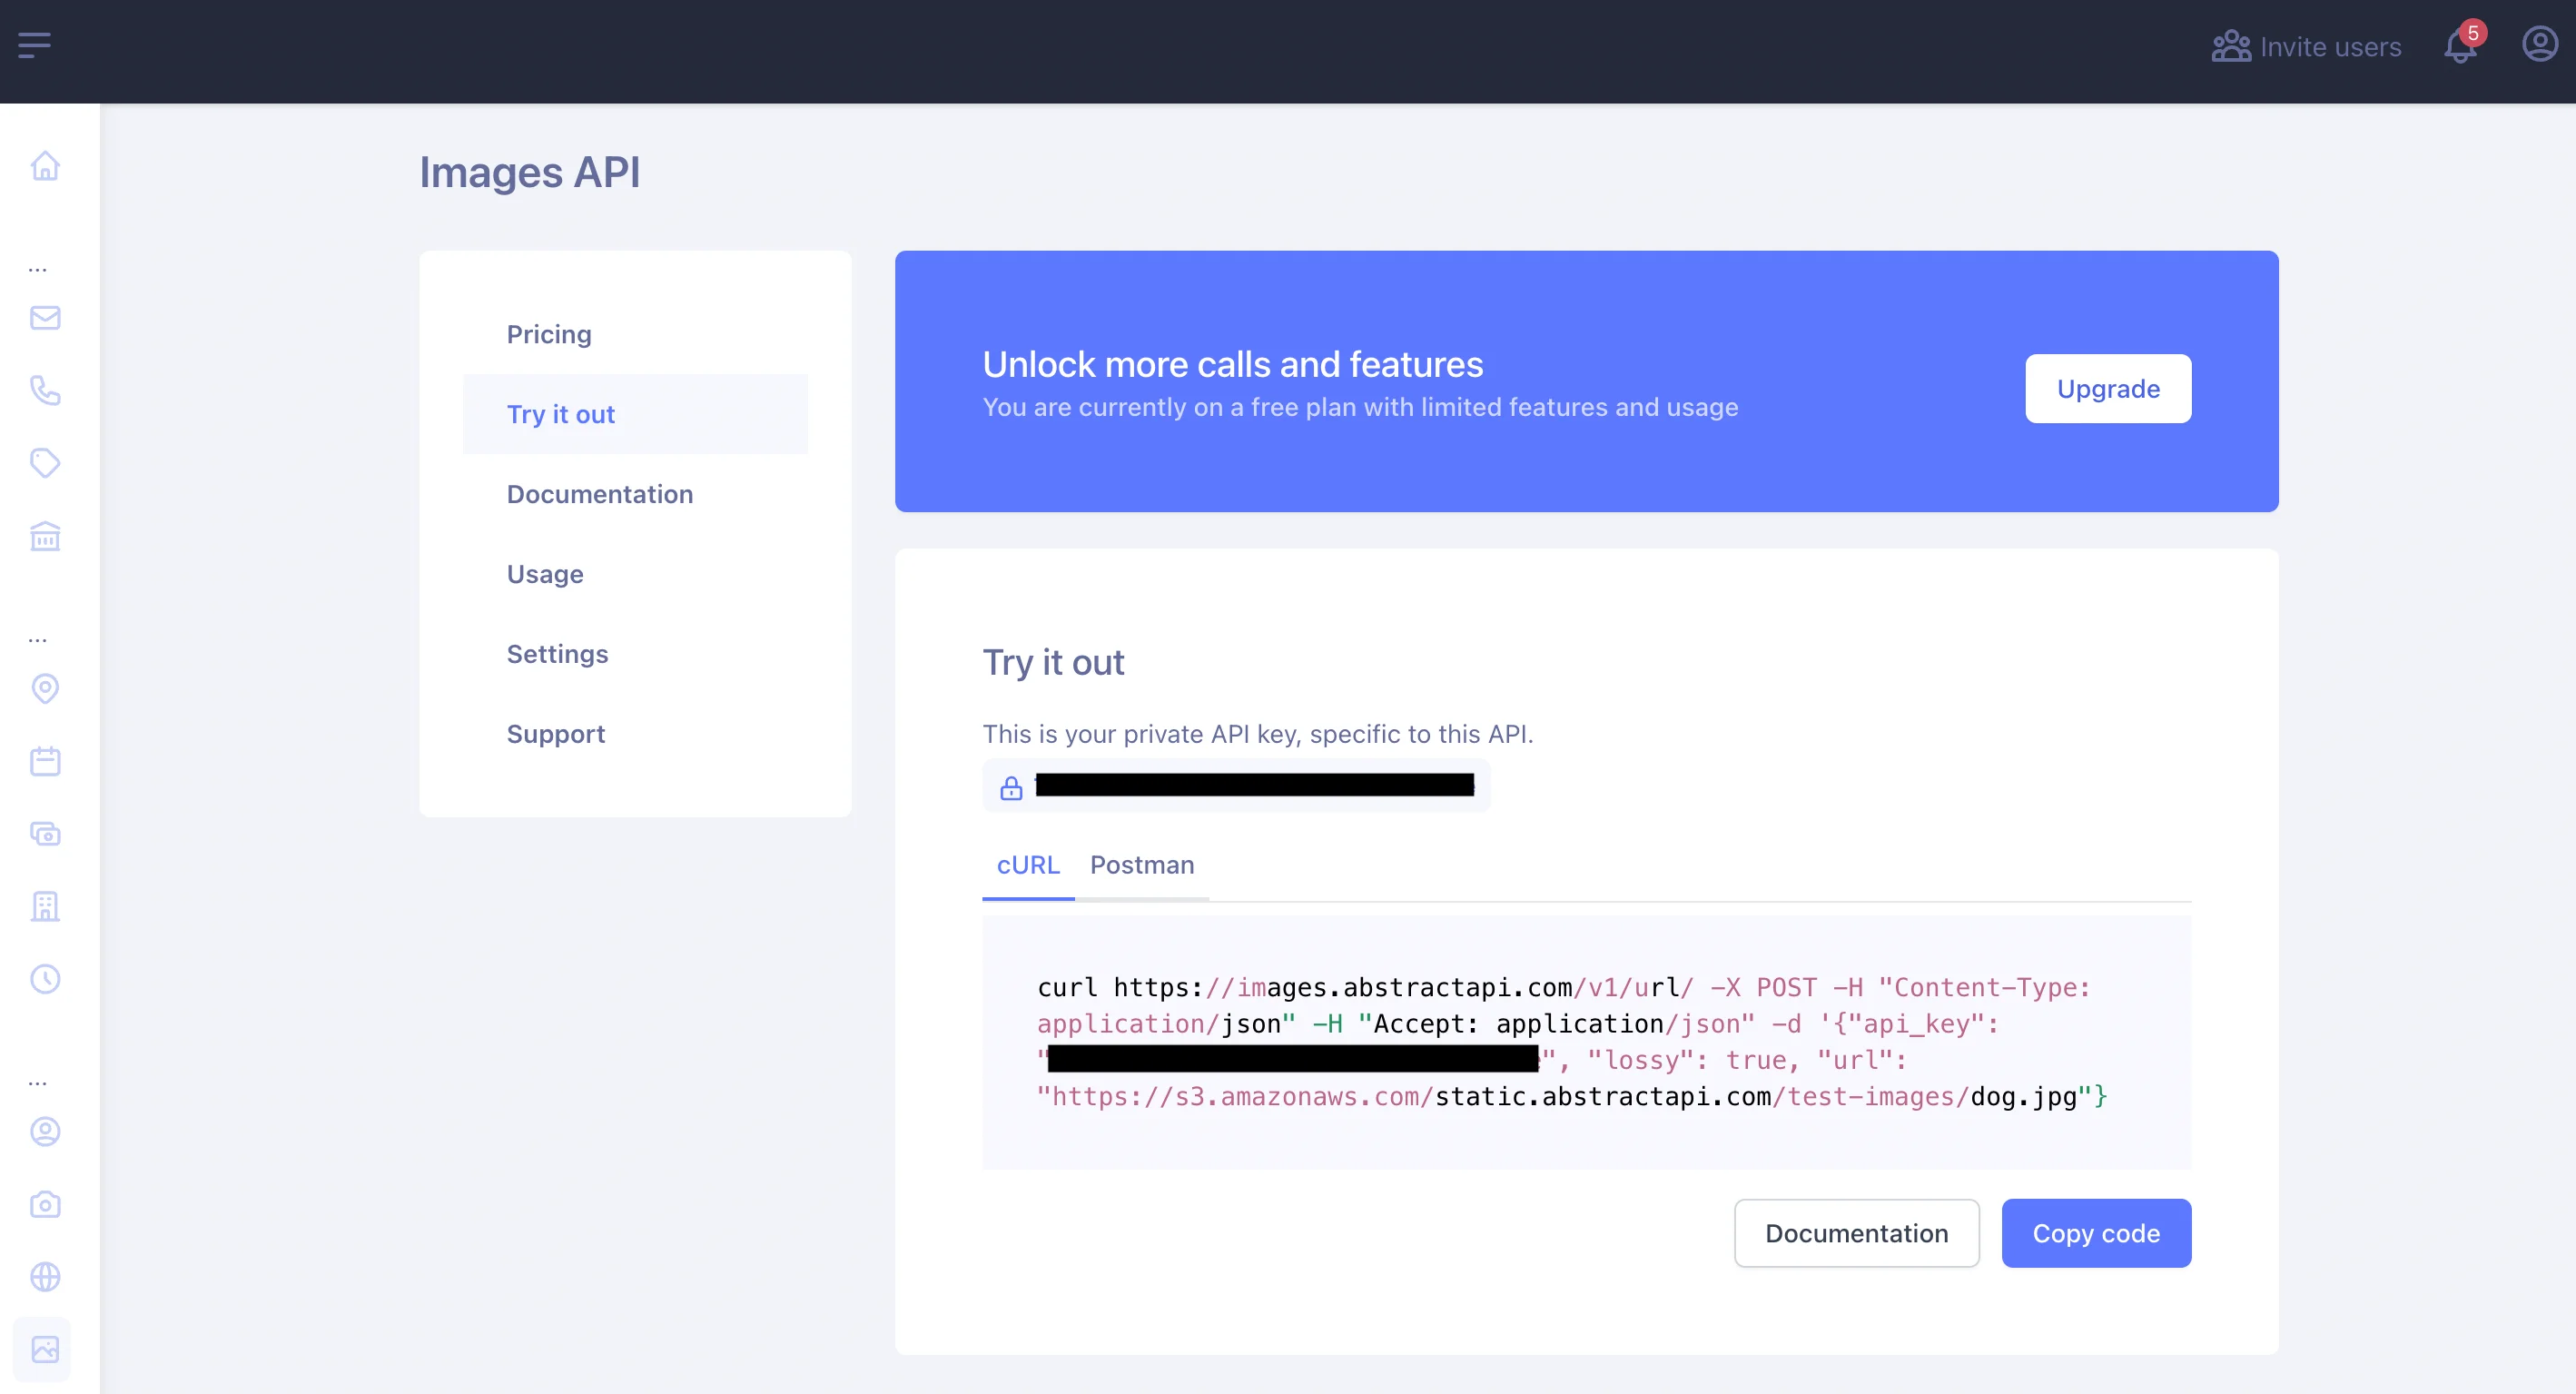
Once you’ve signed up and logged in, you’ll land on the API dashboard.

Make a Request to the API
Use the requests module to send a POST request to the endpoint with your API key and the URL of the image you want to resize included in the parameters object.
This request will return a JSON object like the following:
The API returns a URL to a new file, hosted at one of AbstractAPI's AWS S3 buckets, along with some information about the original image and the new image. To use the resized image, simply access the URL of the new image via dot notation.
Conclusion
In this article, we looked at three different methods for resizing images in Python. Two of these methods relied upon the Numpy library, which provides a set of tools for performing mathematical operations on multidimensional arrays (called ndarrays.)

Working with Numpy to resize images is a common use case for people who want to use large image datasets to train AIs.
FAQs
How Do I Rescale an Image in Numpy?
To resize an image using Numpy, you can simply call the resize function on a Numpy array that has been derived from image data. However, Numpy alone will not account for interpolation and extrapolation. To rescale an image with these parameters in mind, use a library built on Numpy like OpenCV or SciKit Image.
How Do You Resize an Image in Python?
There are many ways to resize an image in Python. The easiest way is to use the PIL library, which turns an image file into a PIL Image object and exposes methods for image manipulation. You could use a Numpy-based library like OpenCV or SciKit Image to first convert the image to a Numpy array and then perform a resize operation.
What Is the Difference Between Reshape and Resize?
The primary difference between reshape and resize in Numpy is that resize modifies the original array, while reshape does not.


