Resize Images Using Nodeca/Pica
Pica is an in-browser image resizing tool that lets you resize a Canvas element, Image element, or Image Bitmap. It outputs the resized image as a Canvas element, which can then be converted to a blob for upload.

Pica can be used to resize images for upload, which decreases upload time and saves server side processing time; it can also be used to generate thumbnails directly in the browser.
Pica autoselects between webworkers, webassembly, createImageBitmap, or pure JS for resizing images. Depending on which browser your client uses, and what resources are available, Pica automatically falls back to the best available option to convert images.
Get Started
To get started with Pica, install it into your project using NPM or Yarn.
Next, import the Pica module into the file you use to resize images, and use as follows:
That basic use case is all it takes to resize images in the browser with Pica. Pass the Canvas element you want to resize as the from option. For the to option, create an empty canvas element using document.createElement and pass that.
Configuration
Pica provides the option to pass a configuration object specifying the quality, unsharp amount, filter, and other options for the resized image. Pass it like so:
You can also create a Pica instance by calling new Pica() and passing an optional configuration object with base configurations for all resized images.
Resize Images Using Node/Jimp
Jimp is a library that works with Node to handle image processing on the server. The name "Jimp" stands for "Javascript Image Manipulation Program." There are no native dependencies, and Jimp supports jpg, bmp, tiff, gif, and png formats.

Get Started
Install Jimp using Node or Yarn.
Importing the Module Build
Import the Jimp module and create an instance.
Note that if you use Webpack, your bundle can benefit from importing the module build, which will result in a smaller bundle size and allow you to exclude things that aren't directly used in your code.
Using Jimp
Jimp exposes a filereader .read method that accepts a URL, file path, Jimp instance, buffer, or simply image dimensions. It reads the input and returns a Promise that resolves into a Jimp image object which can then be manipulated.
Once the image object has been created, Jimp provides a number of APIs for manipulating the image, including resize image, filters, cropping, scaling, and complicated changes like color manipulation, masking, and adding effects like posterize or gaussian blurs.
Here's an example of how you might resize a source image in Jimp.
Jimp can maintain the aspect ratio of the original image. Just pass JIMP.auto as one of the width or height constraints:
When it comes time to write to a new file, the Jimp Image object exposes a .write method. There is also a handy .getExtension method that allows you get the original image type and use that as the new file extension.
Resize Images With AbstractAPI
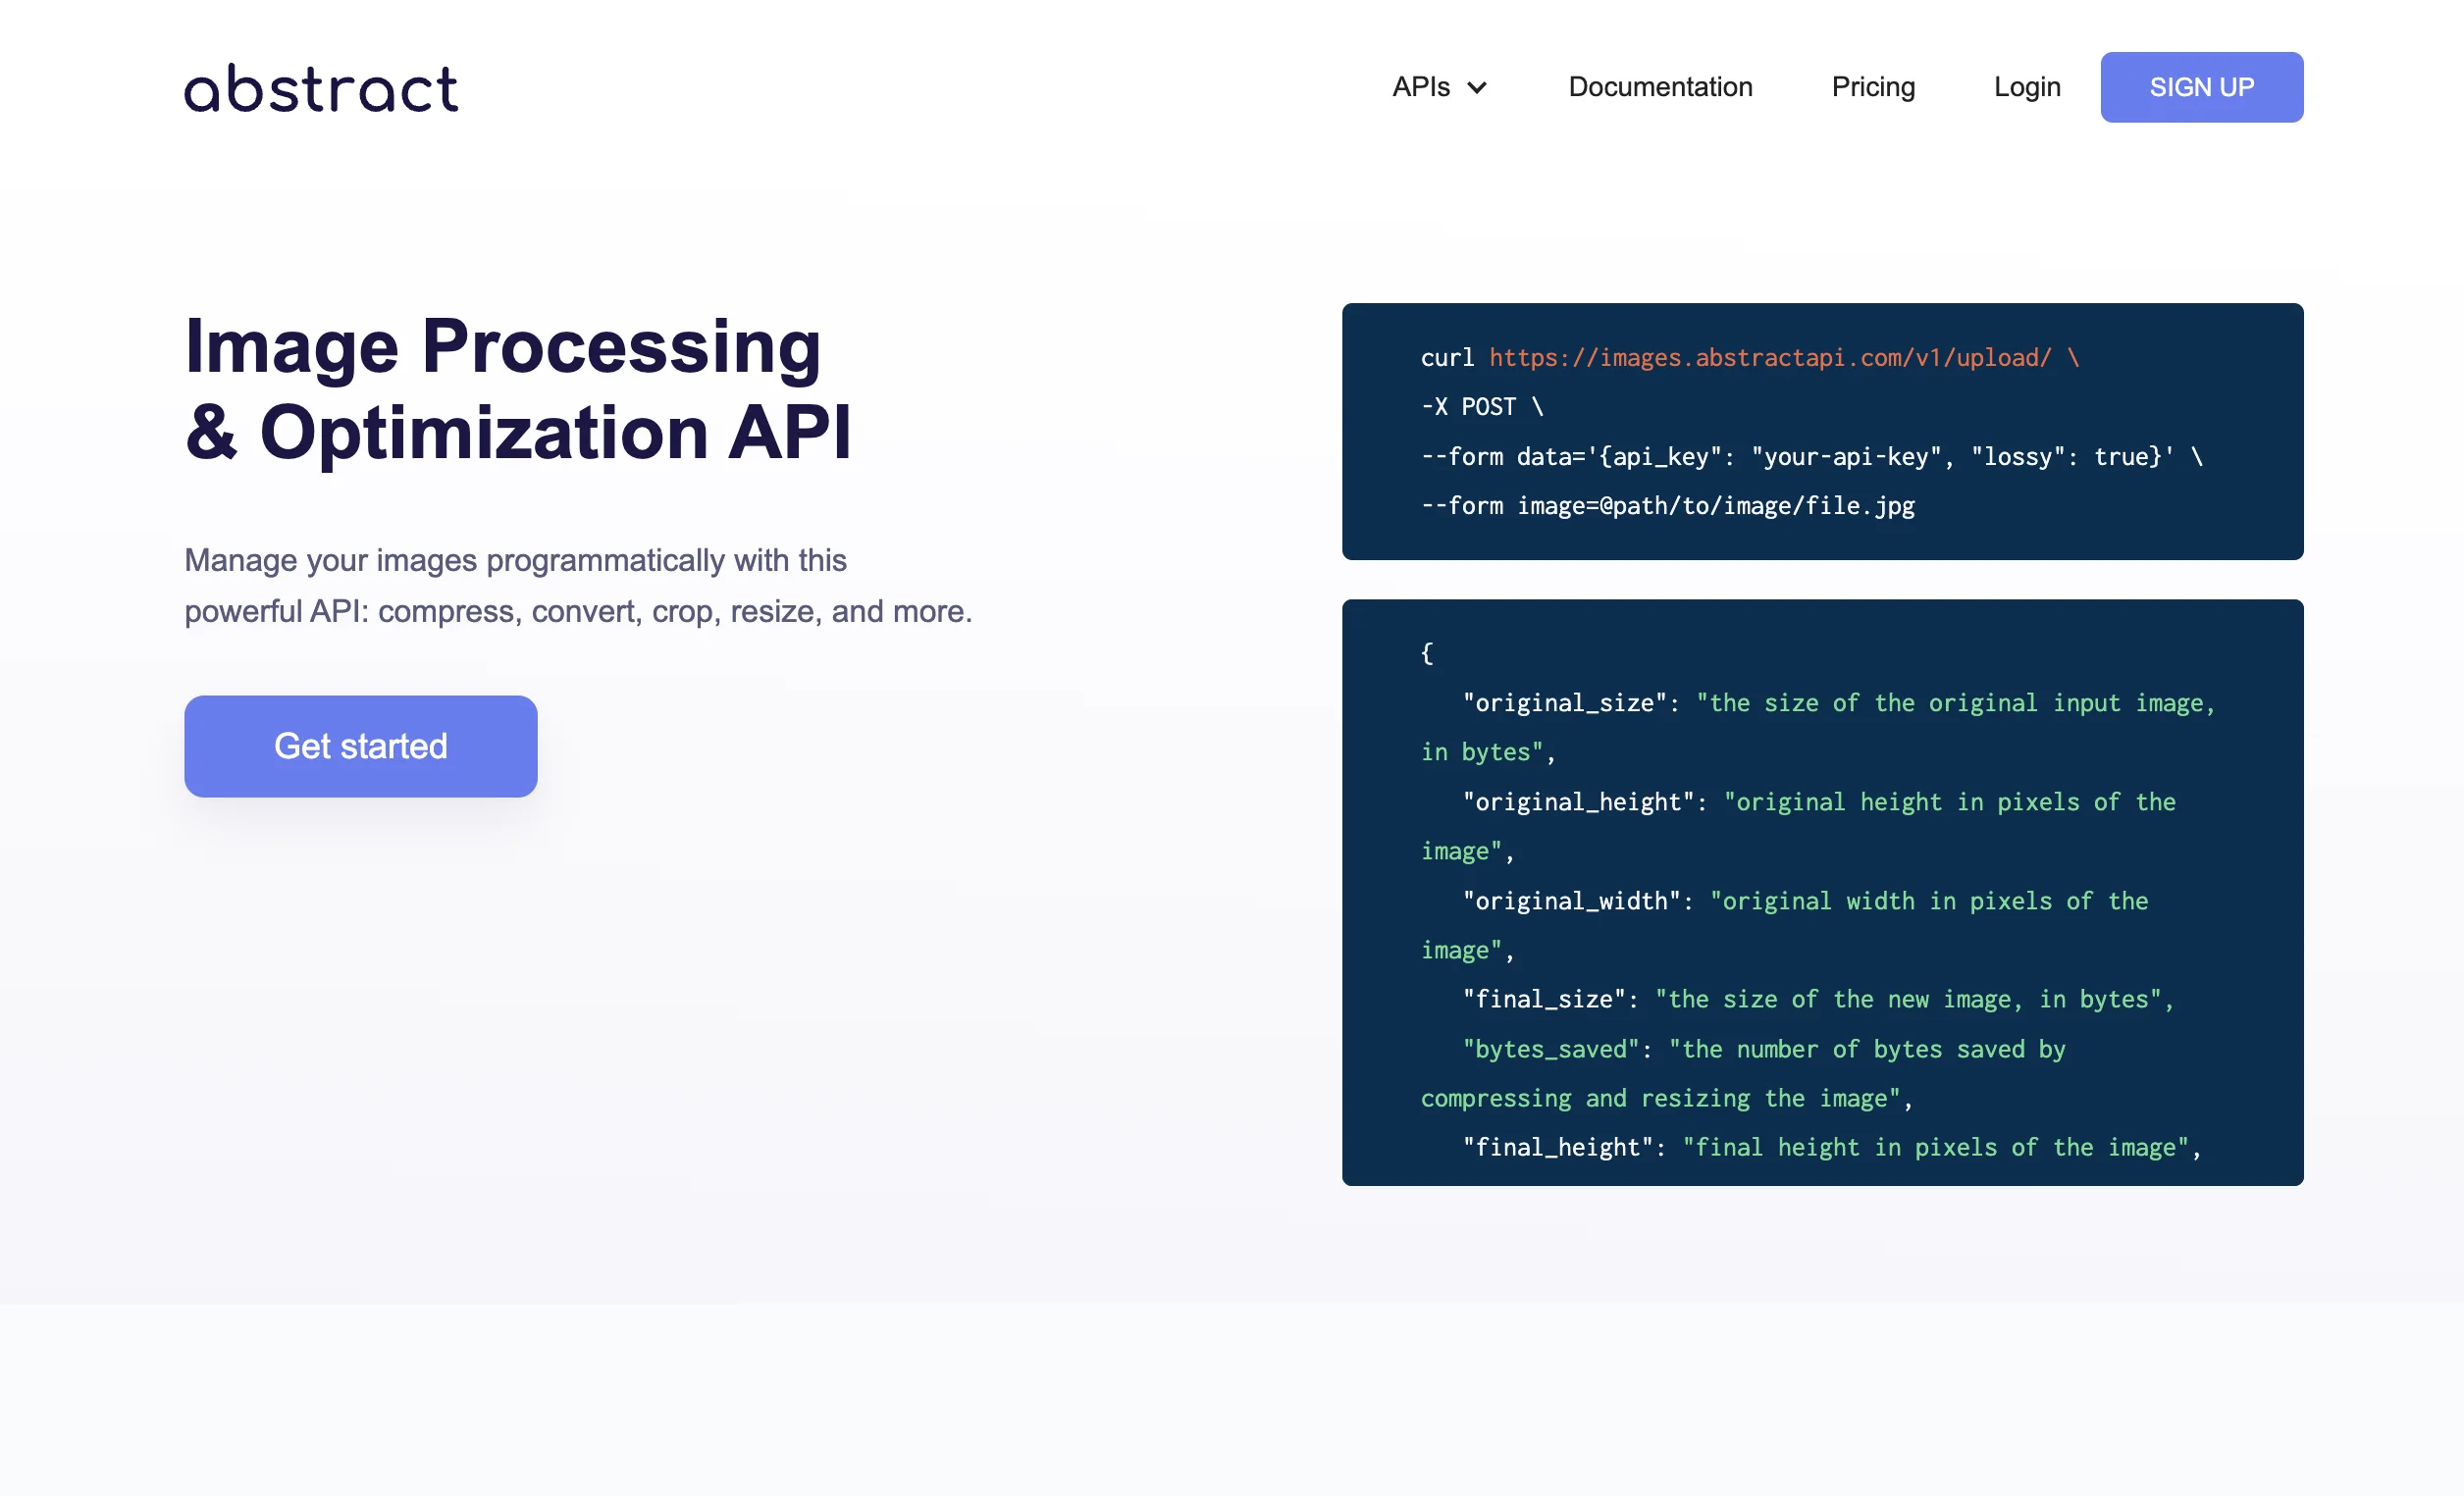
AbstractAPI is an API service that provides easy and free online solutions for common coding problems. Their Free Image Resizing API allows you to send a simple POST request containing the URL of a hosted image, along with a configuration object. The API returns the URL of the resized image, hosted at an AWS S3 bucket.
This method can be used both client-side and on the server.
Get Started
Acquire an API Key
Navigate to the Images API home page. Click the “Get Started” button. If you've never used AbstractAPI before, you'll need to create a free account by providing an email and a password. If you have an account, you may need to log in.

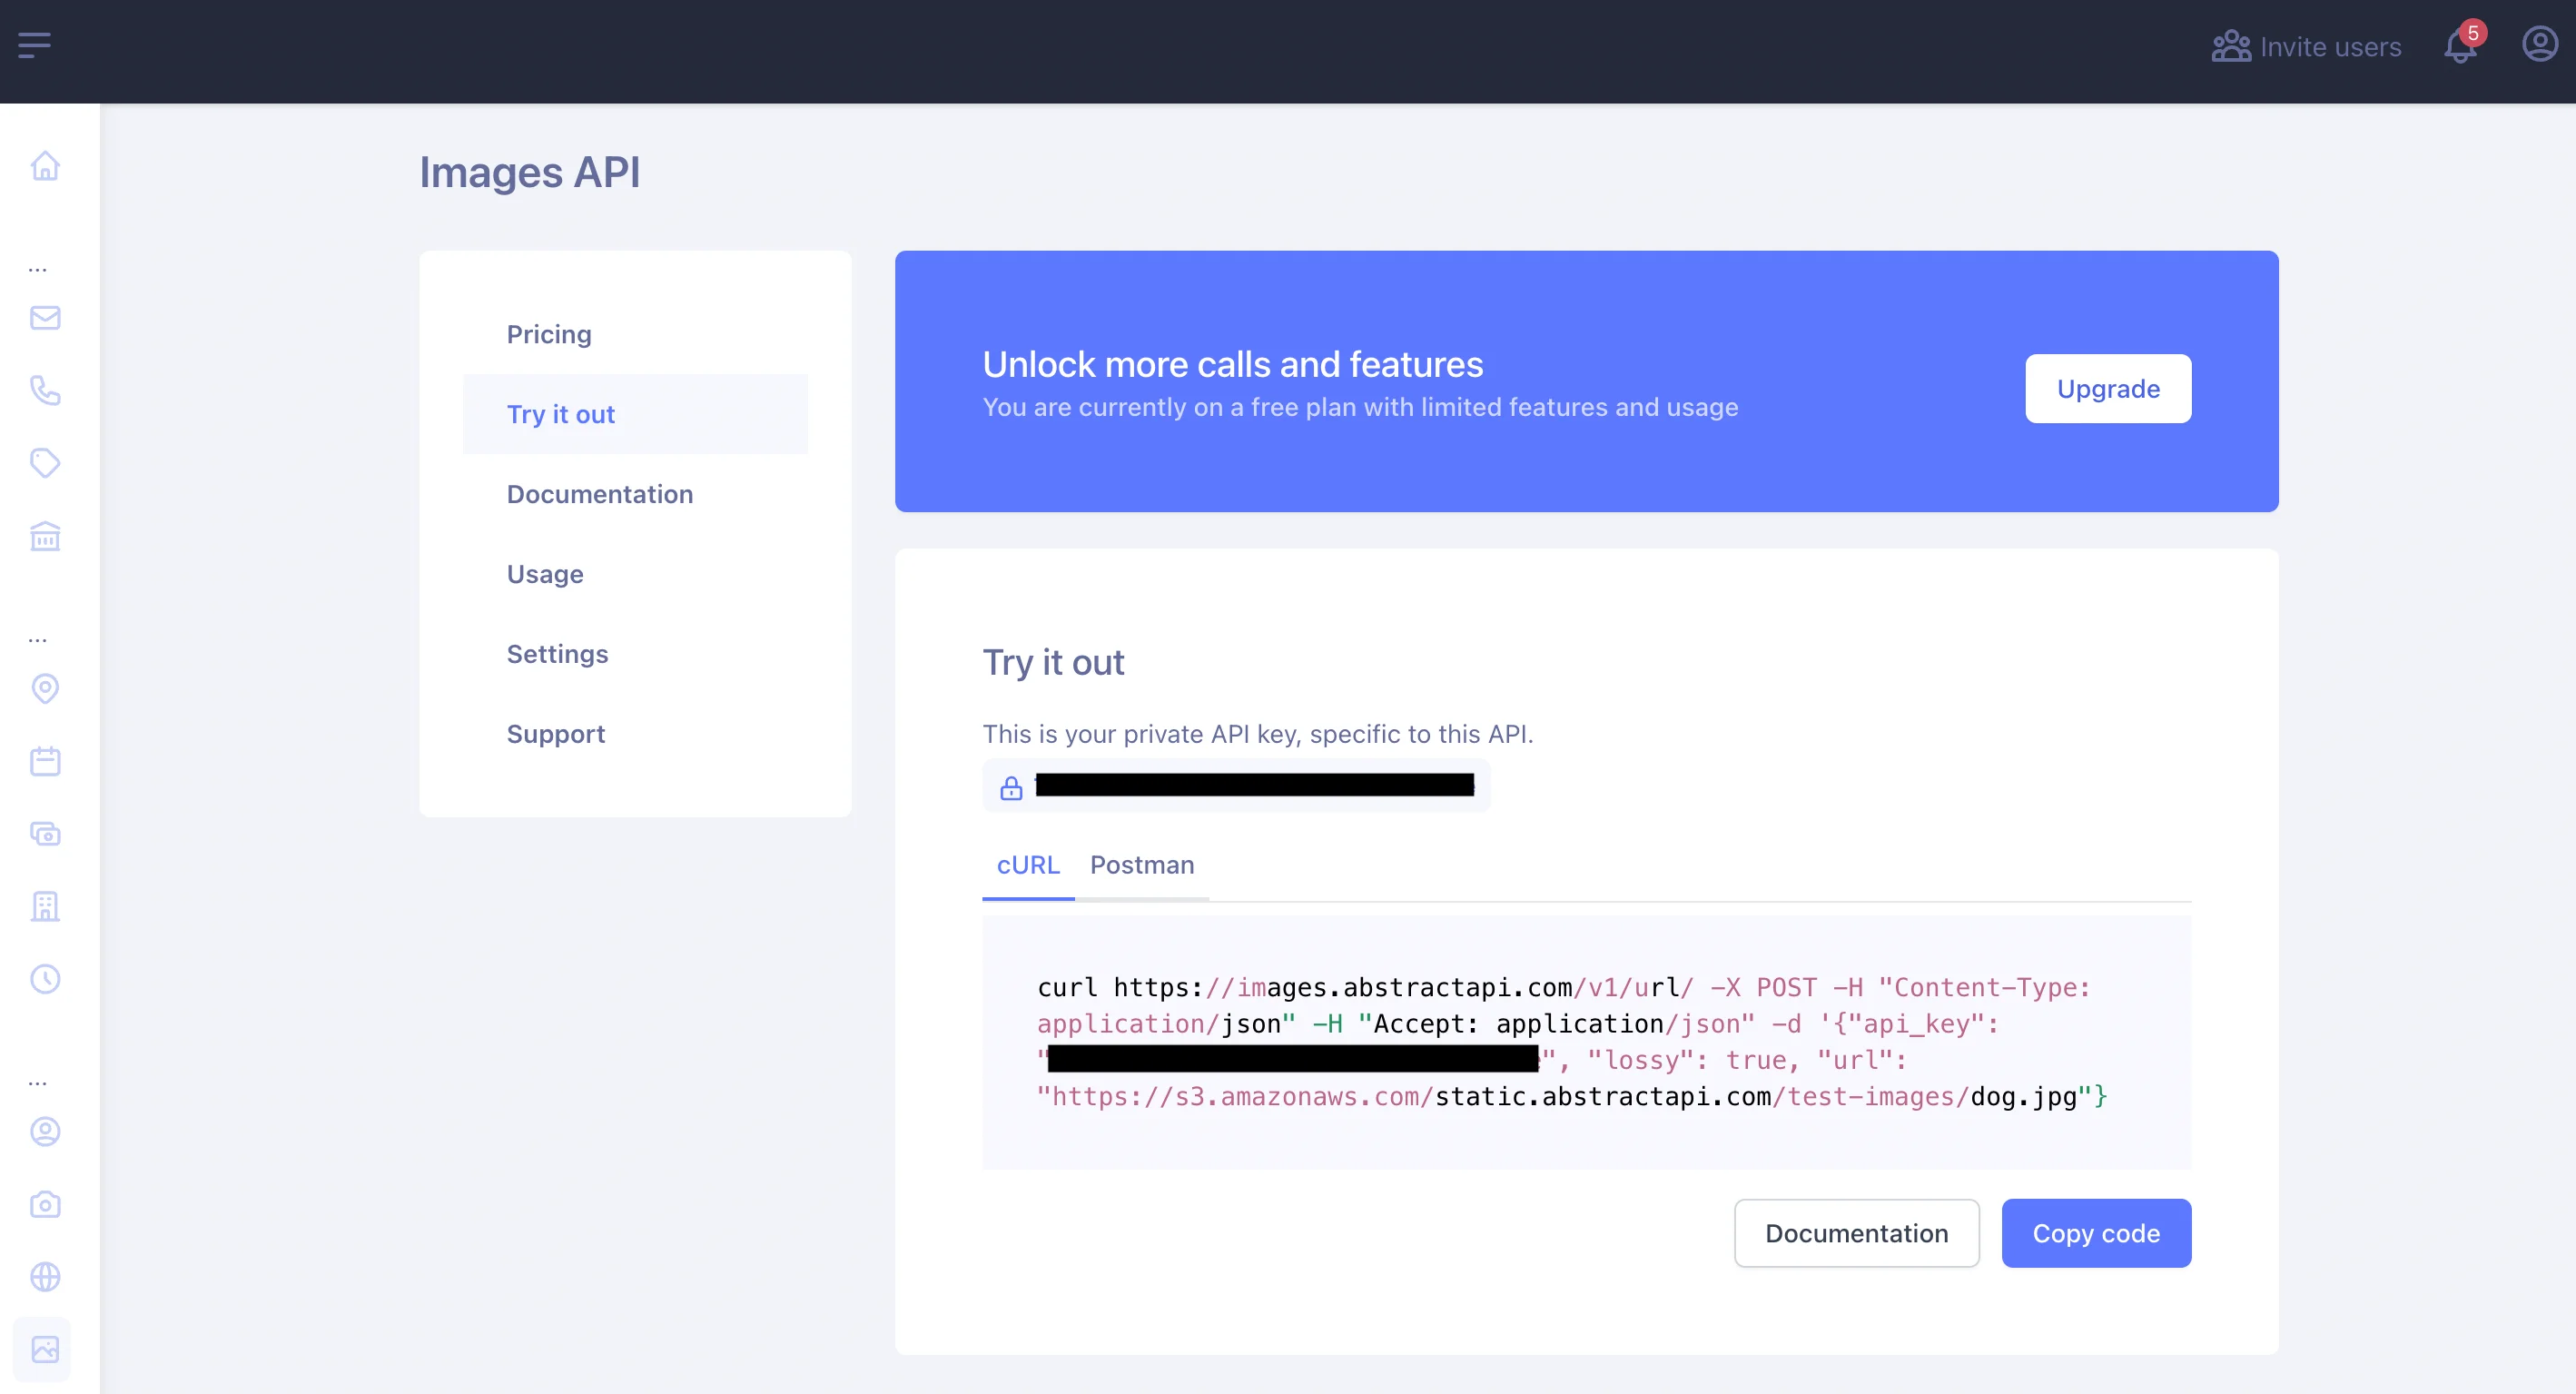
Once you’ve logged in, you’ll land on the API dashboard. You'll see your API key, documentation, and options for pricing and support.

Make a Test API Request
Make a basic CURL request to the API to test that your API key works and to view the API response object.
Select the “CURL” tab above the large text box to the right. Inside the box you'll see a CURL test string:
The first parameter to the command is the URL we want to send the data to: https://images.abstractapi.com/v1/url/
The -d option contains the data we will be sending, which in this case is the URL string, our API key, and any configuration options we want to pass. In this case, we are only passing the lossy option, which tells the API to compress the file without resizing the actual image. This will result in a drastic change in file size and slight loss of image quality.
Note: on the AbstractAPI page, the example CURL request is missing a closing single quote. Once you’ve copied the request into your terminal, add the missing quote mark.
Send the request by pasting into a terminal and hitting “Enter” and take a look at the response object:
The API returns information about the original image that was sent, as well as information about the resized image, and a url to the new image (hosted on AbstractAPI’s S3 server.)
Use the API in Javascript Code
To use the API in your Javascript code, use an HTTP client to send a POST request to the API URL. Include your API key and the URL of the image to resize as parameters to the options object, along with any other options you want to set.
Conclusion
In this tutorial, we looked at three methods for resizing images in Javascript: using Pica, using Jimp, and using AbstractAPI. All three methods are perfectly valid, and it will be up to you to choose which is the most efficient method for you in your production app.

FAQs
How to Resize an Image in JavaScript?
There are many ways to resize an image in JavaScript. One of the best client-side libraries available for image resizing is Pica, which provides an API to resize Canvas elements, Images and Image Bitmaps directly in the browser.
You could also use a third-party API like Abstract API's Free Image Resizing API. This API accepts a POST request with a URL to an image to be resized and returns a URL to the resized image, hosted in an S3 bucket.
How Do I Resize an Image in Node JS?
If you need to work with images in Node, we recommend you use Jimp, a Node image processing library. Jimp provides many tools to manipulate images, including resizing, cropping, color correction, filters, and more.
How Do I Reduce File Size Before Uploading?
One of the easiest ways to reduce an image's file size before uploading is to use lossy compression to decrease the quality of the image without changing the size. APIs such as Abstract API's Free Image Resizing API allows you to upload a URL for resize and specify a lossy option without width and height parameters. This will cause the API to use lossy compression to resize the file without touching the image size.


